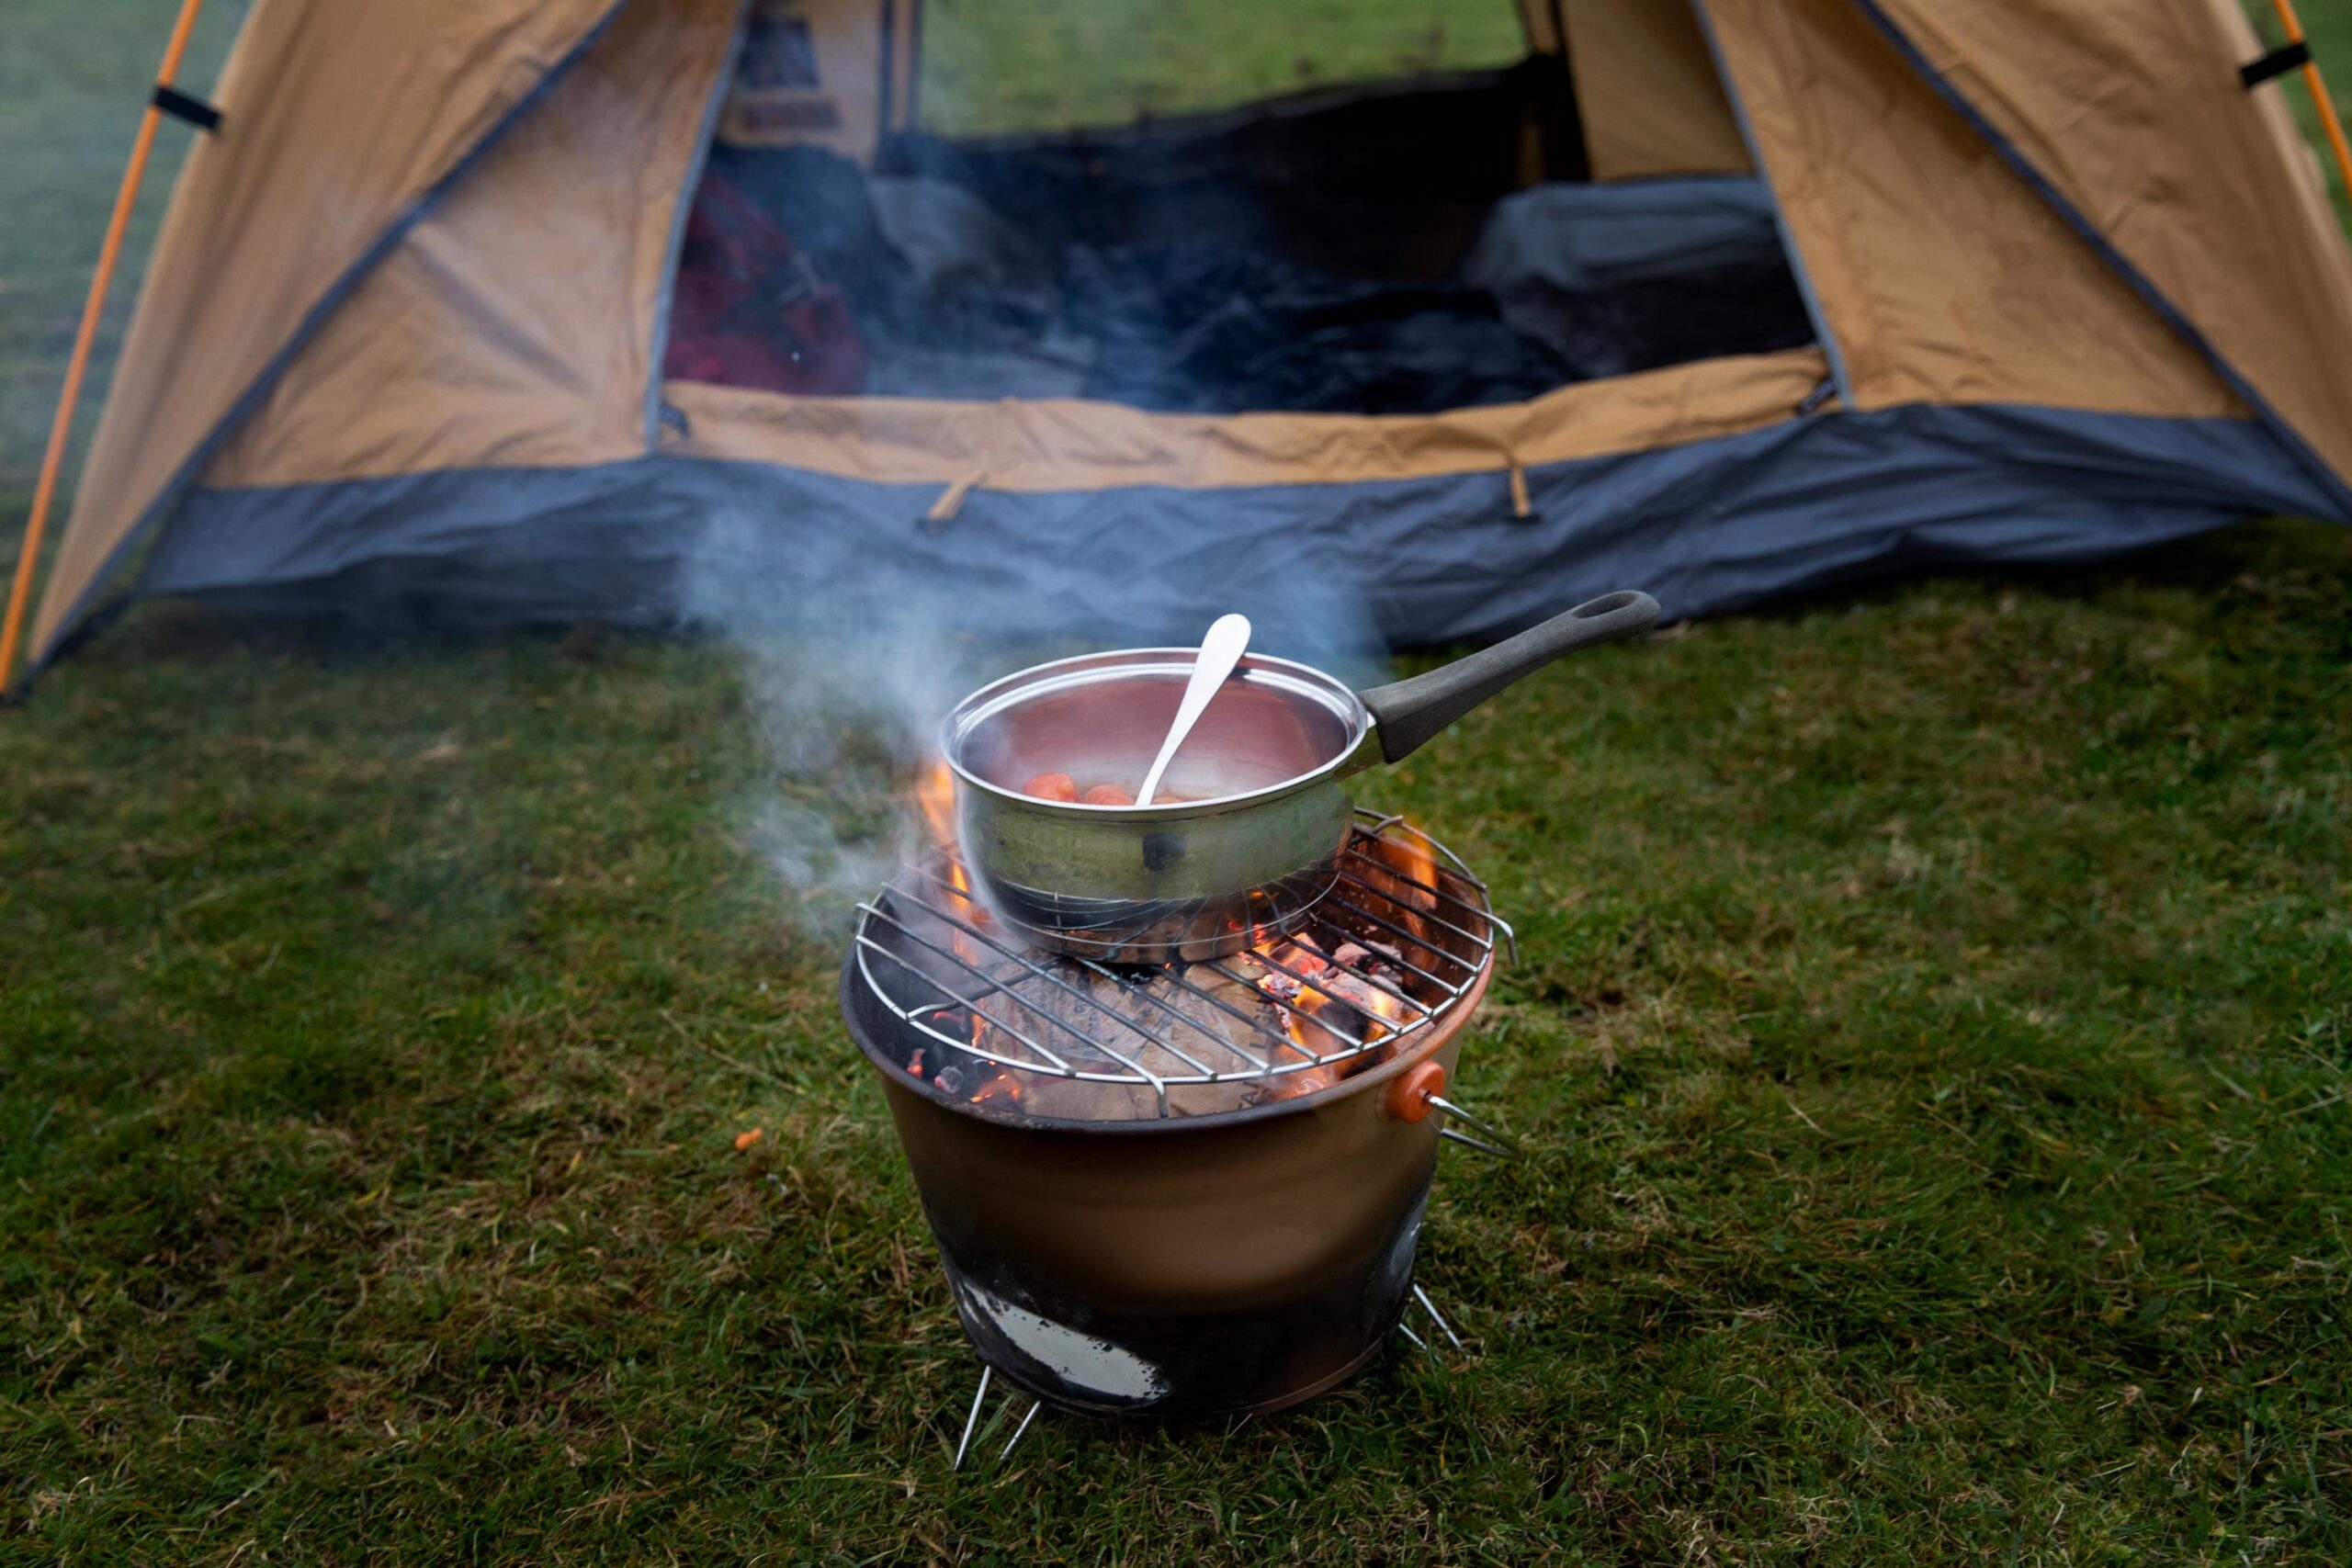
Whether you’re a casual car camper, a backcountry backpacker, or a family planning a weekend in the woods, cast iron campfire cooking turns outdoor meals from “survival fuel” into a memorable experience. Cast iron’s unmatched heat retention and durability make it the perfect partner for campfires—where temperatures fluctuate, and gear needs to withstand rough use. This guide breaks down everything you need to master the craft, from choosing the right cast iron campfire cooking equipment to nailing temperature control and keeping your gear in top shape.
Essential Cast Iron Campfire Cooking Equipment: What to Bring (and Why)
Not all cast iron gear works for campfires—outdoor cooking demands portability, heat resistance, and versatility. Here’s your must-have list, tailored to different camping styles:
Core Cast Iron Cookware
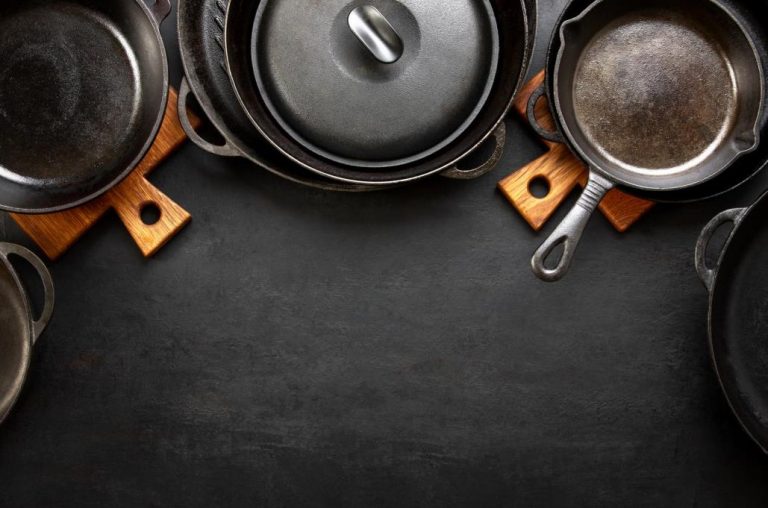
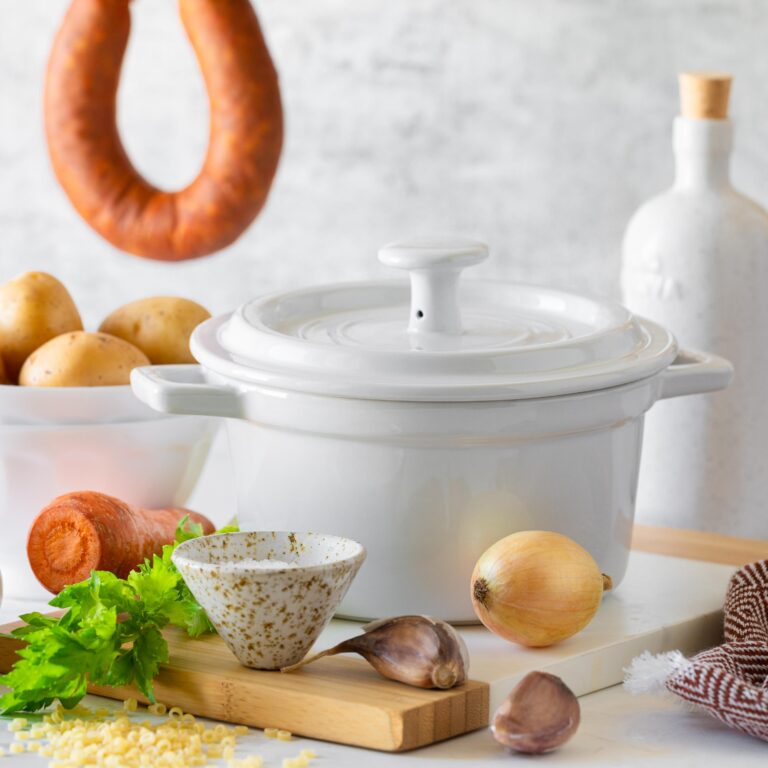
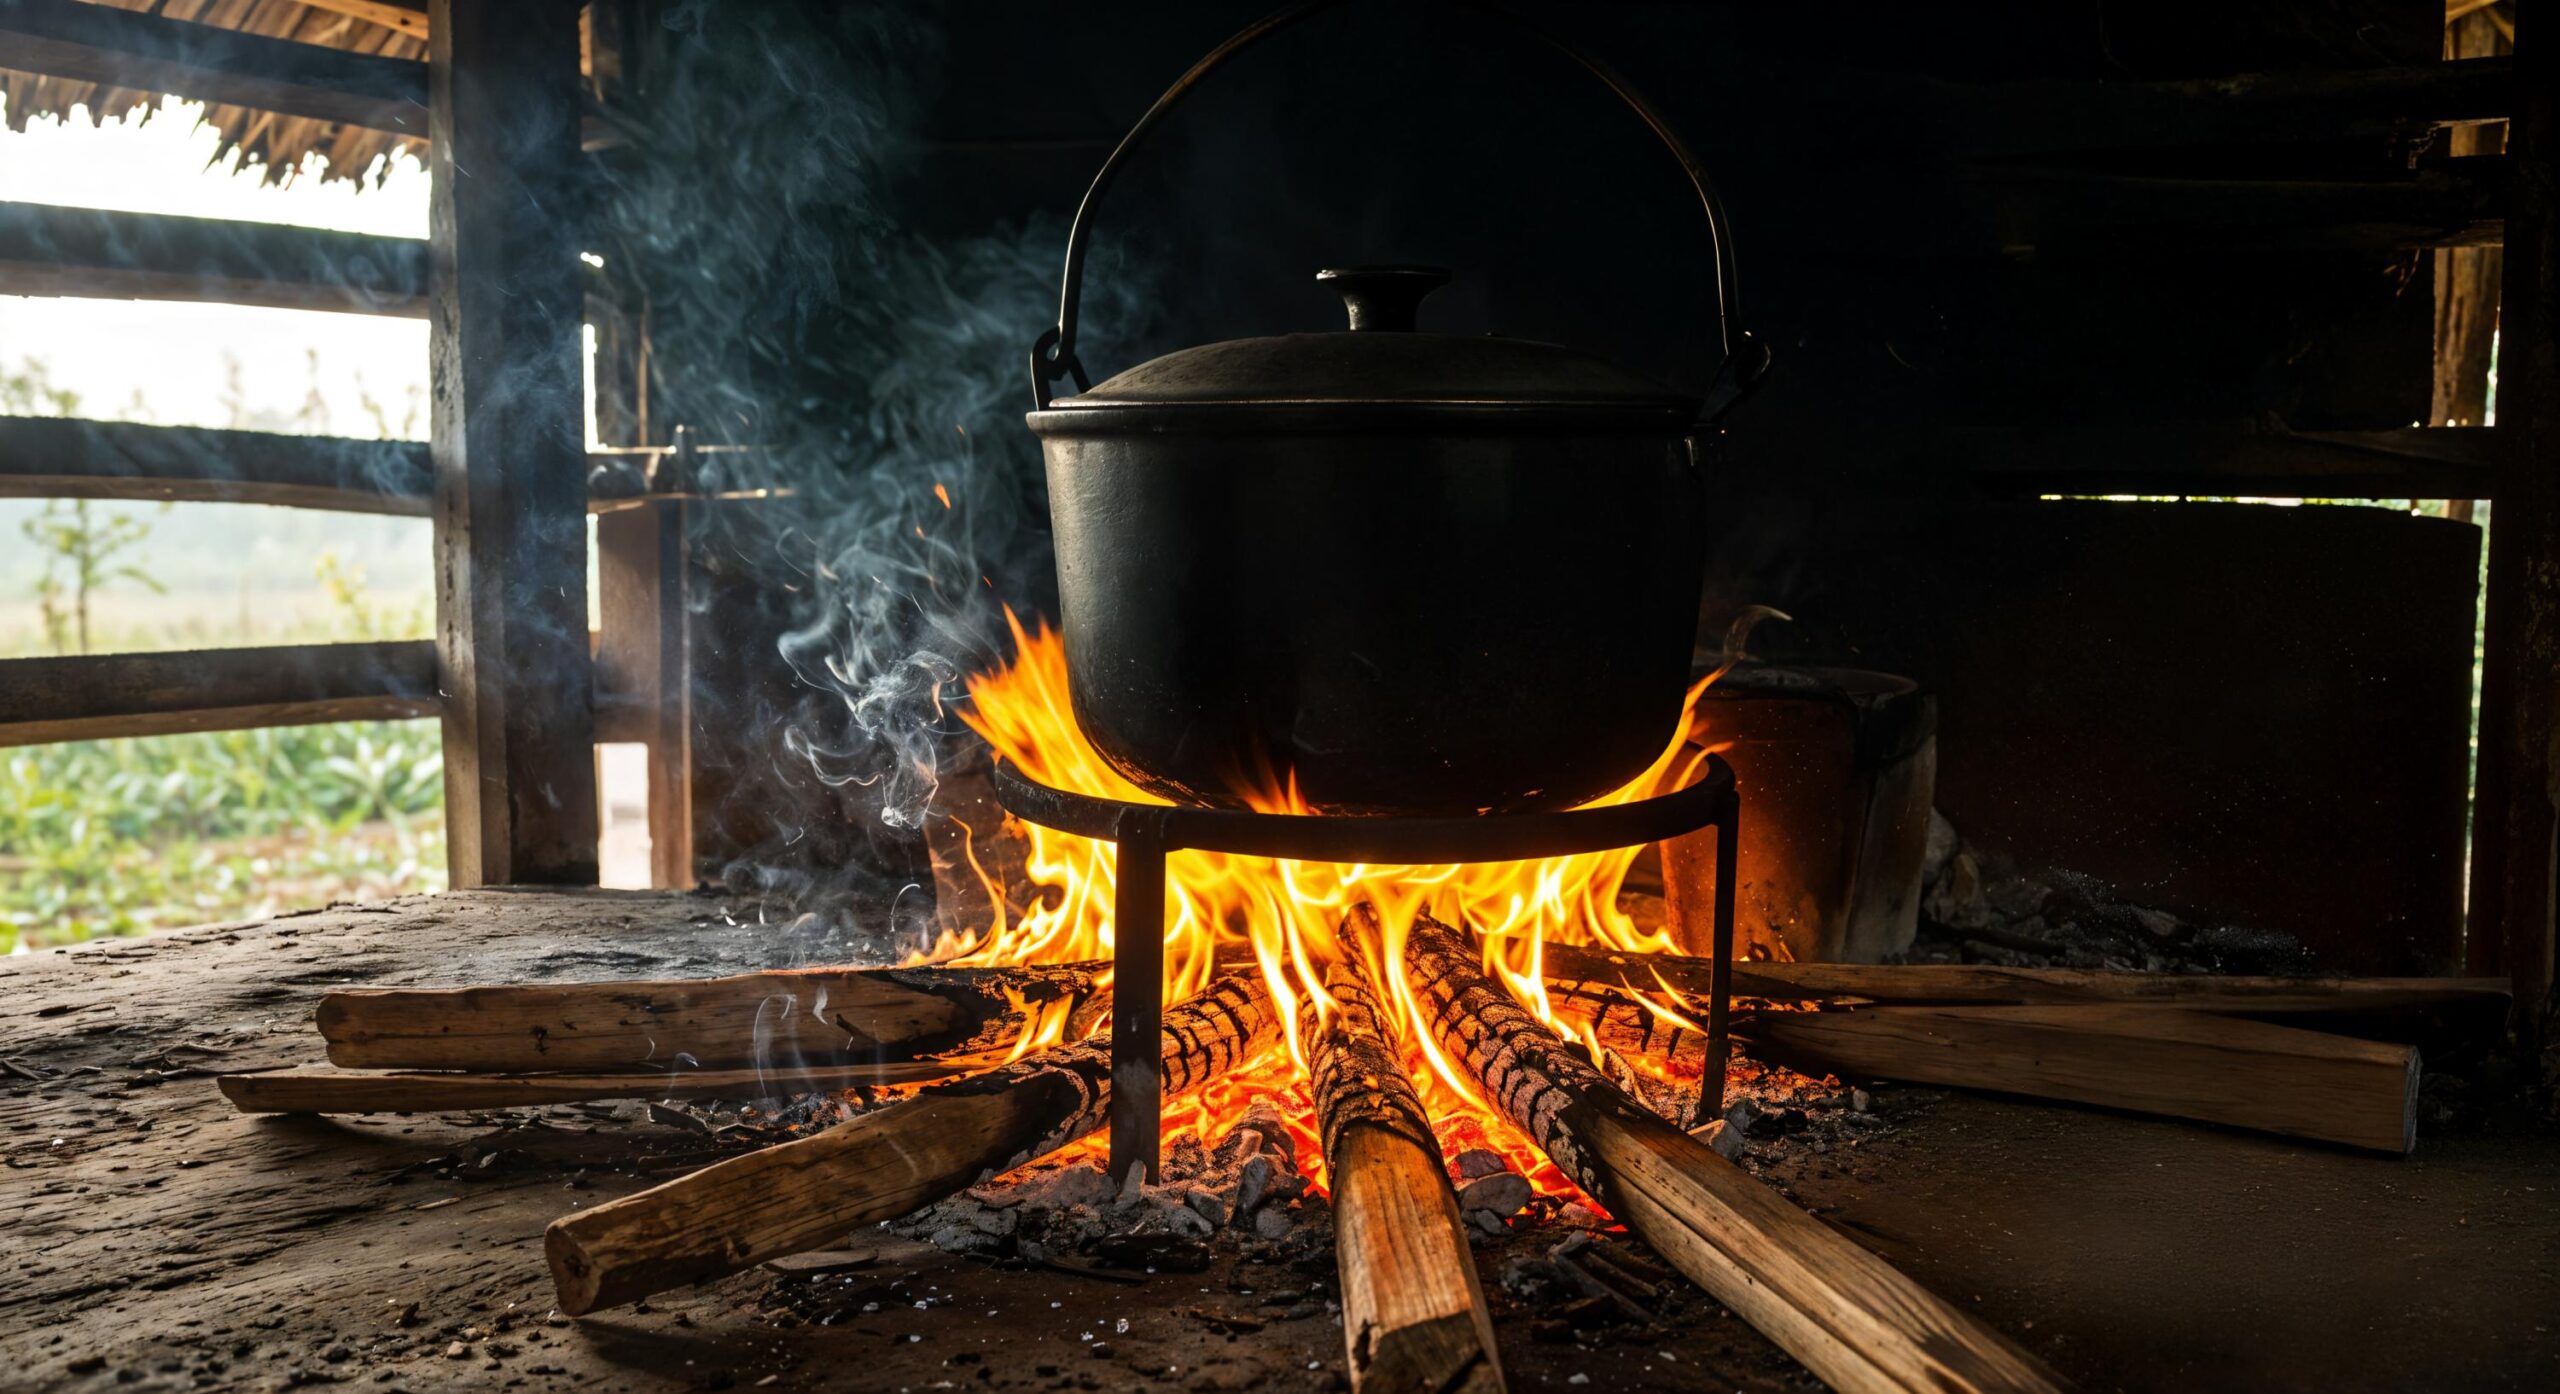
- Cast Iron Dutch Oven: The “workhorse” of campfire cooking. Opt for a 5–7 quart (4.7–6.6L) model with a tight-fitting lid (look for lids with a lip to hold coals for even top-down heating). Ideal for stews, chili, baked bread, and even desserts like cobbler. For backpackers, choose a lightweight enameled version (3–4 lbs) to save pack weight; for car campers, a heavy-gauge raw cast iron Dutch oven (6–8 lbs) offers better heat retention.
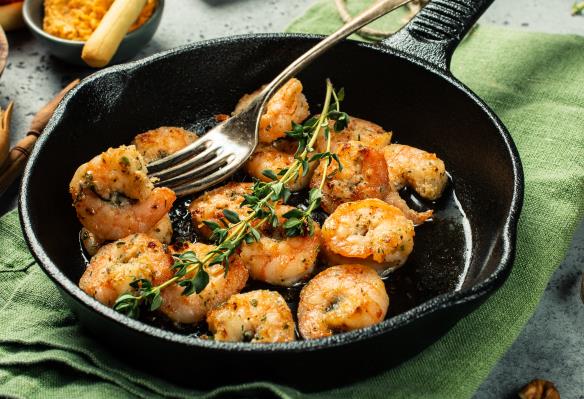
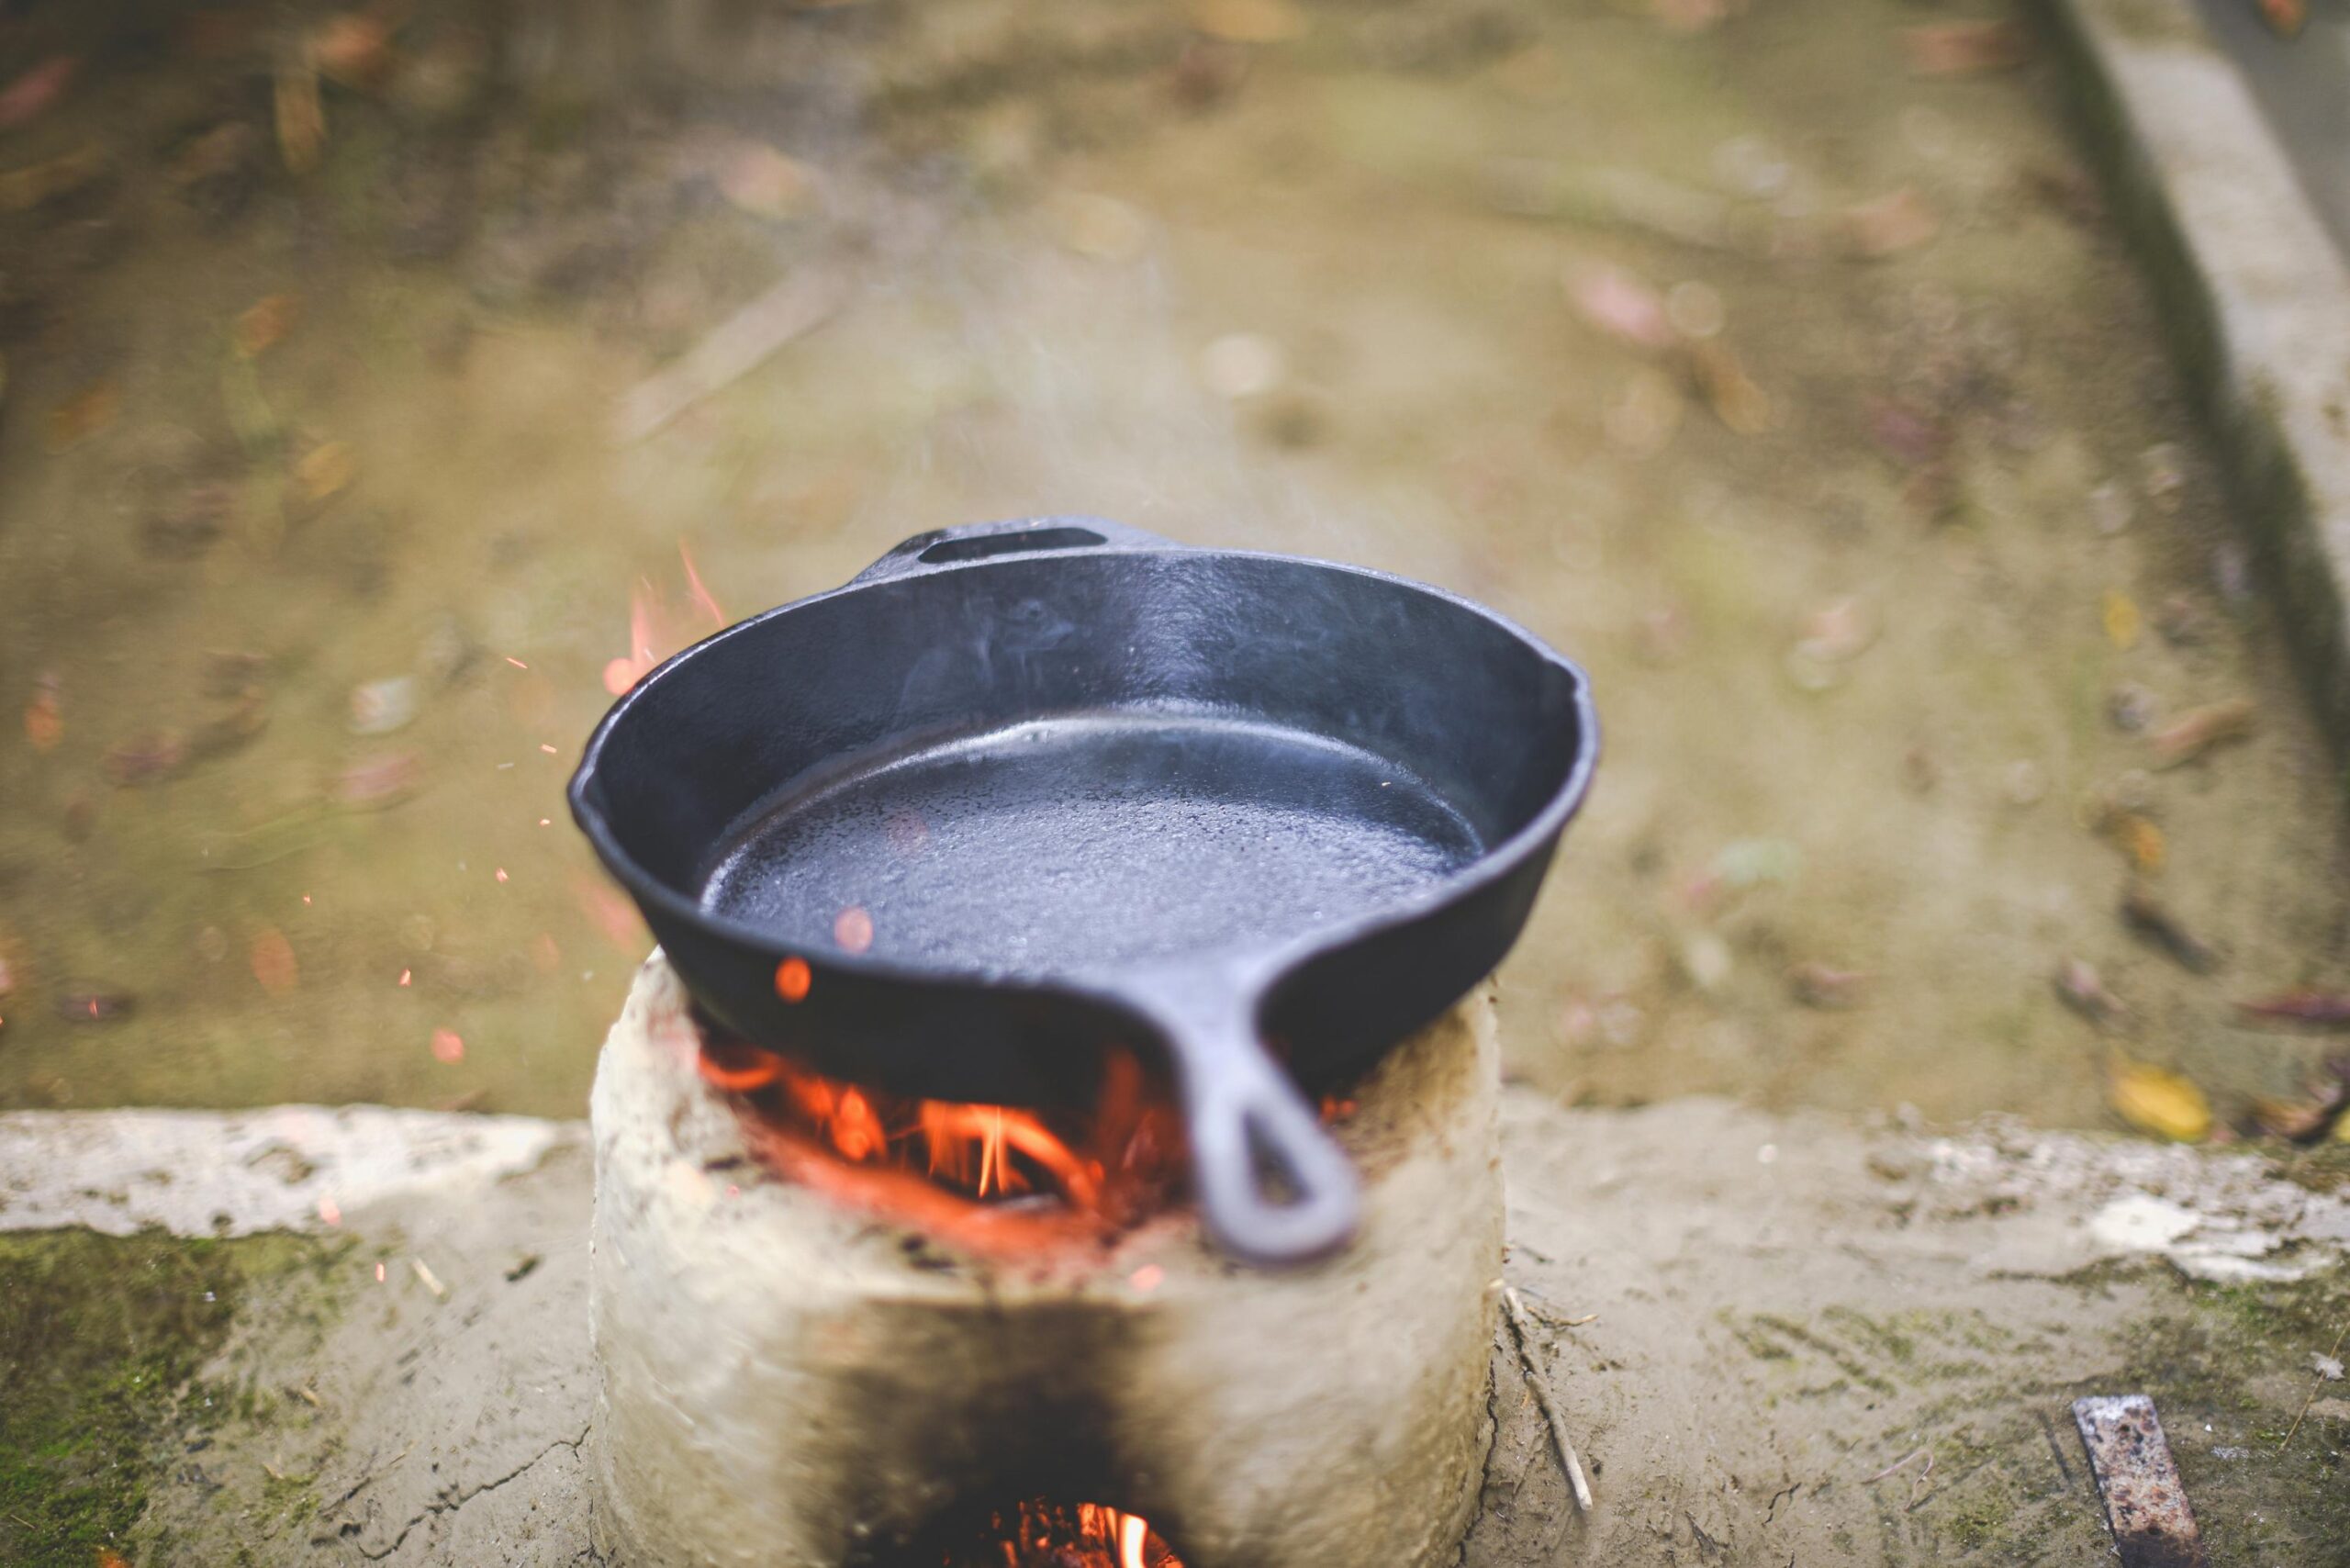
- Cast Iron Skillet: A 10–12 inch (25–30cm) skillet is perfect for frying eggs, searing steaks, or toasting sandwiches. Look for a model with long, heat-resistant handles (avoid short handles—they’ll burn your hands over campfire). Raw cast iron is better for high-heat searing; enameled works if you prefer easy cleanup.
- Cast Iron Grate: A rectangular cast iron grate (16–20 inches long) sits directly over the campfire, great for grilling sausages, vegetables, or burgers. Choose one with adjustable legs to fit different fire pit sizes.
Critical Auxiliary Tools
- Fire-Resistant Gloves: Thick leather or silicone gloves (rated to 500°F/260°C+) are non-negotiable—cast iron stays hot for 30+ minutes after leaving the fire.
- Cast Iron Pot Stand: Elevates your Dutch oven or skillet above the fire, preventing direct contact with flames (which causes burning). Look for collapsible stands for easy storage.
- Ash Rake/Shovel: Helps you spread or move campfire embers to control heat (key for slow cooking).
- Long-Handled Spatula/Tongs: Keeps your hands away from heat while flipping food or stirring stews.
- Silicone Basting Brush: Applies oil, marinades, or sauces without melting over the fire.
Master Campfire Control: The Foundation of Great Cast Iron Cooking
Campfires aren’t like stovetops—you can’t twist a knob to adjust heat. Instead, you’ll control temperature with fire structure and ember placement. Here’s how:
Build the Right Campfire for Cooking
- Star Fire: Arrange logs in a star shape (points outward) with kindling in the center. As logs burn, push them inward to maintain consistent heat—ideal for searing with a skillet (high, direct heat).
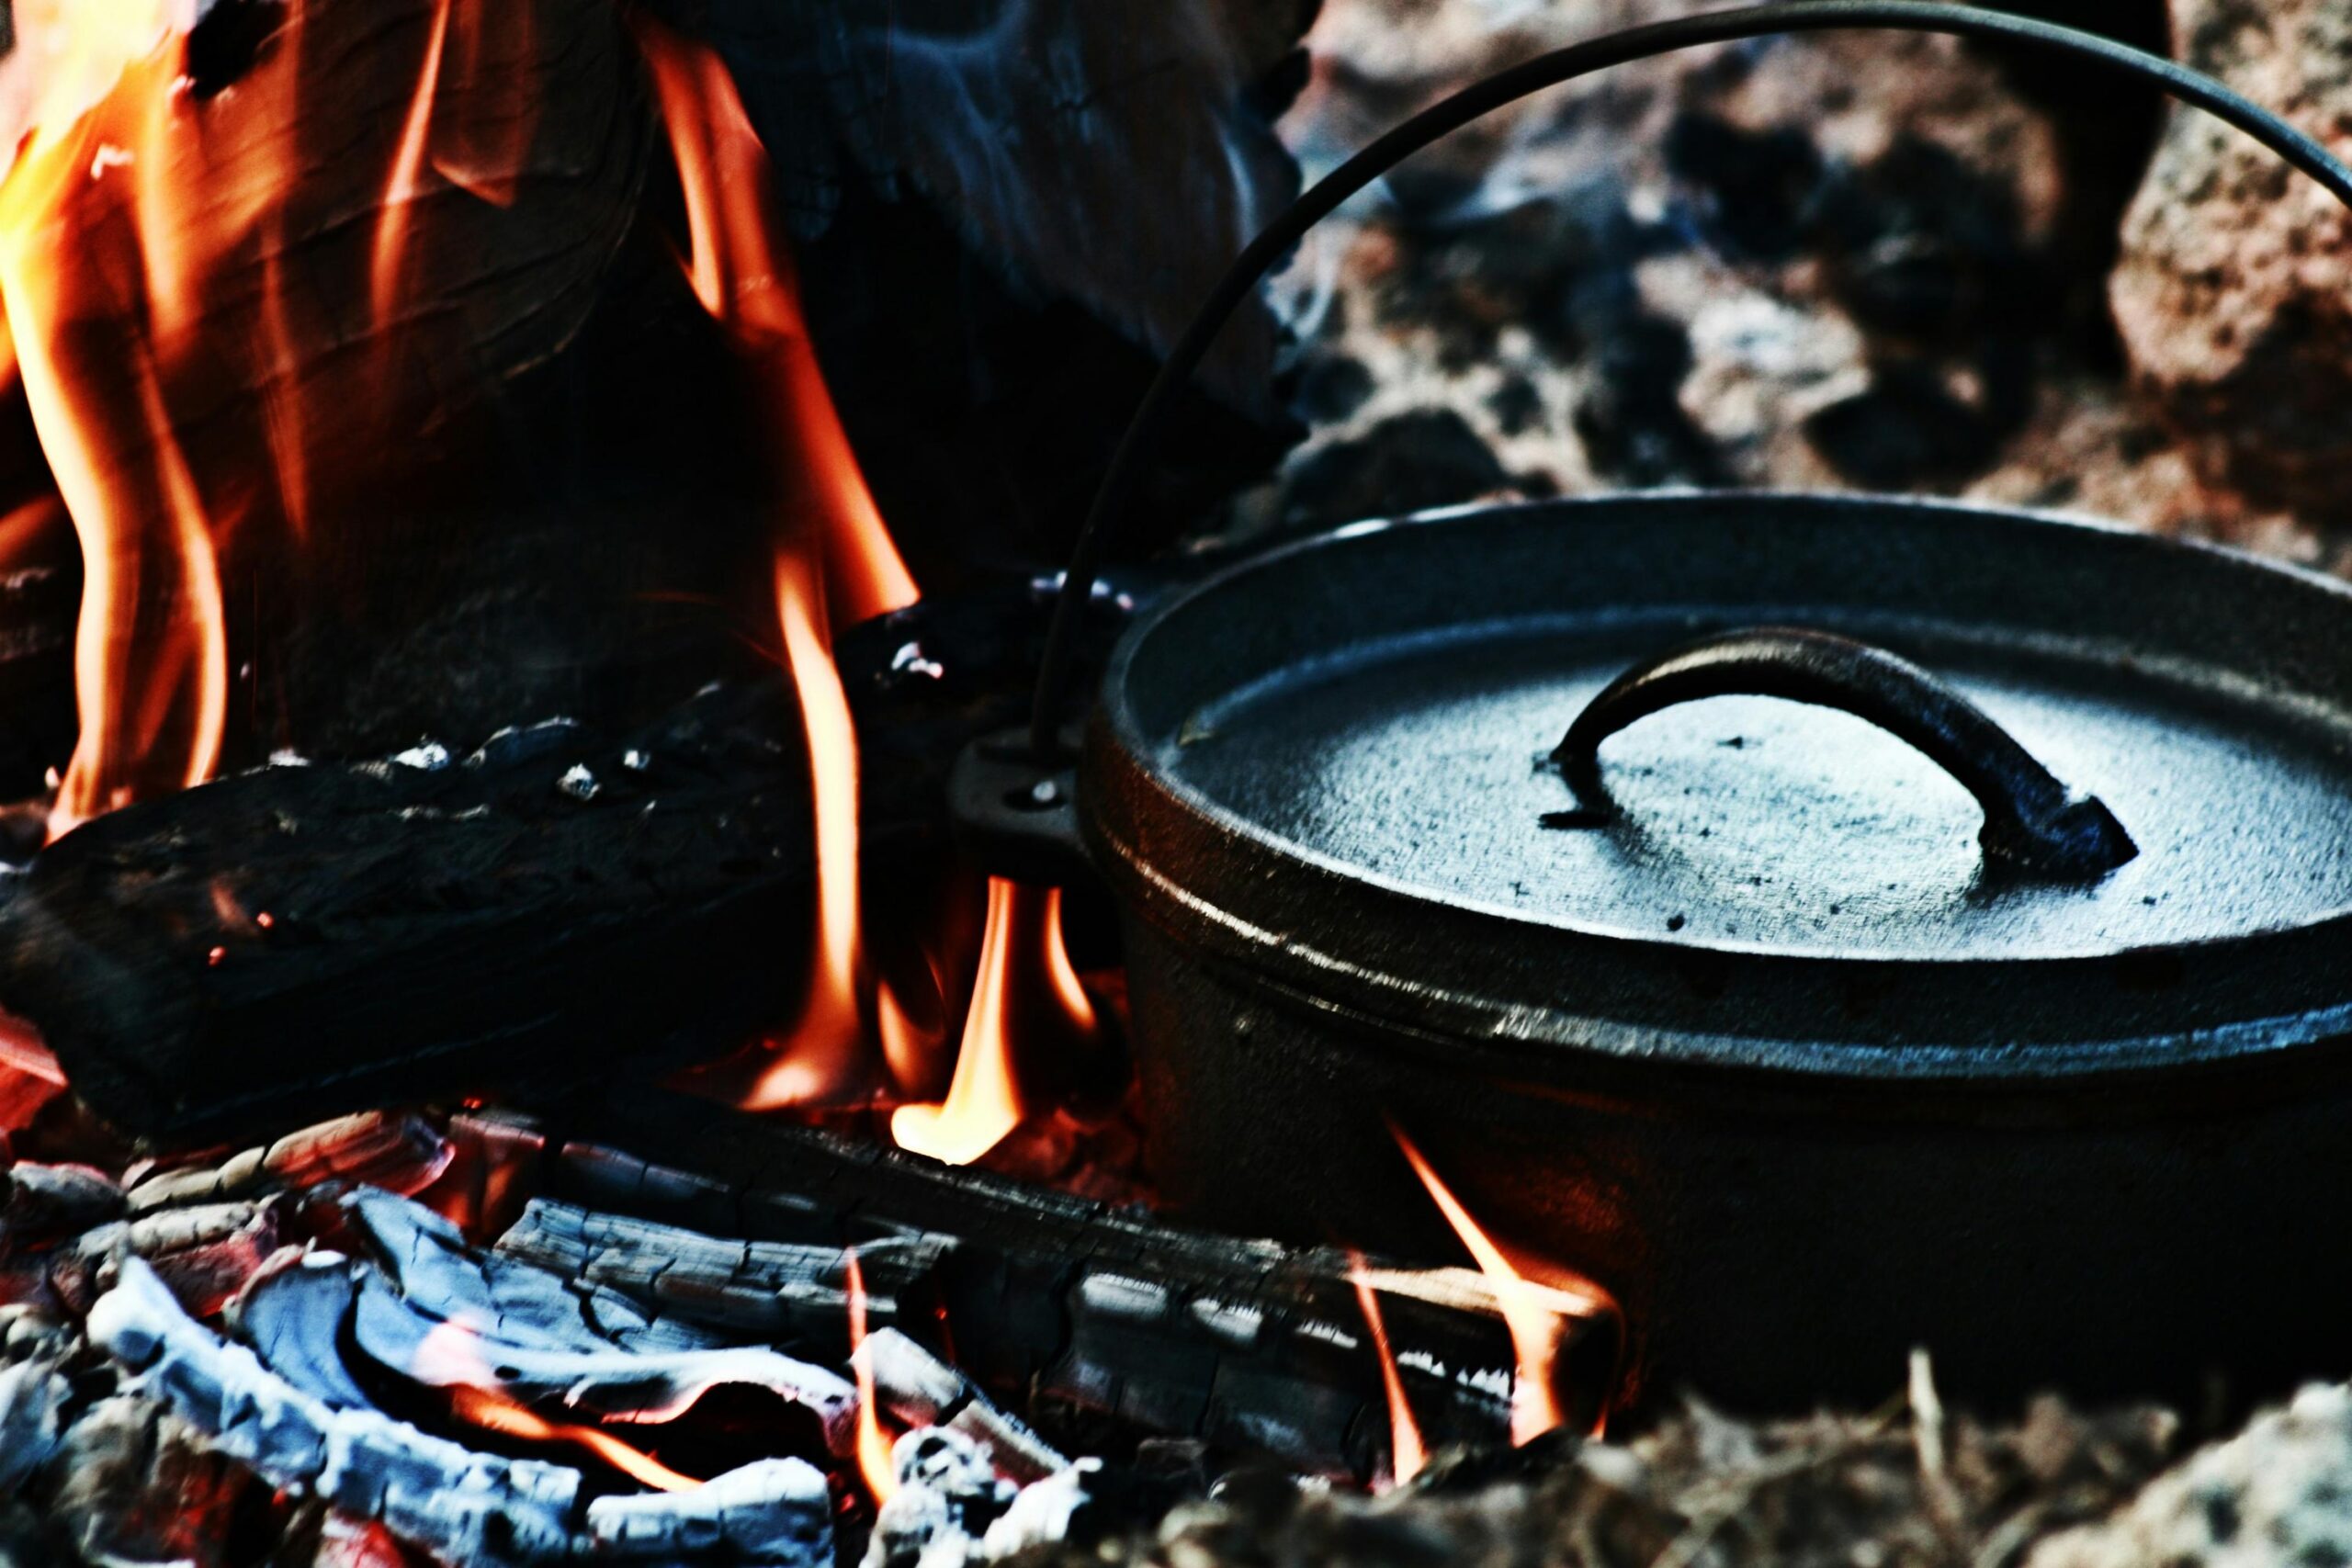
- Pyramid Fire: Stack logs in a pyramid (small on top, large on bottom) and light the base. Once burned down, it leaves a bed of hot embers—perfect for Dutch oven cooking (low, indirect heat).
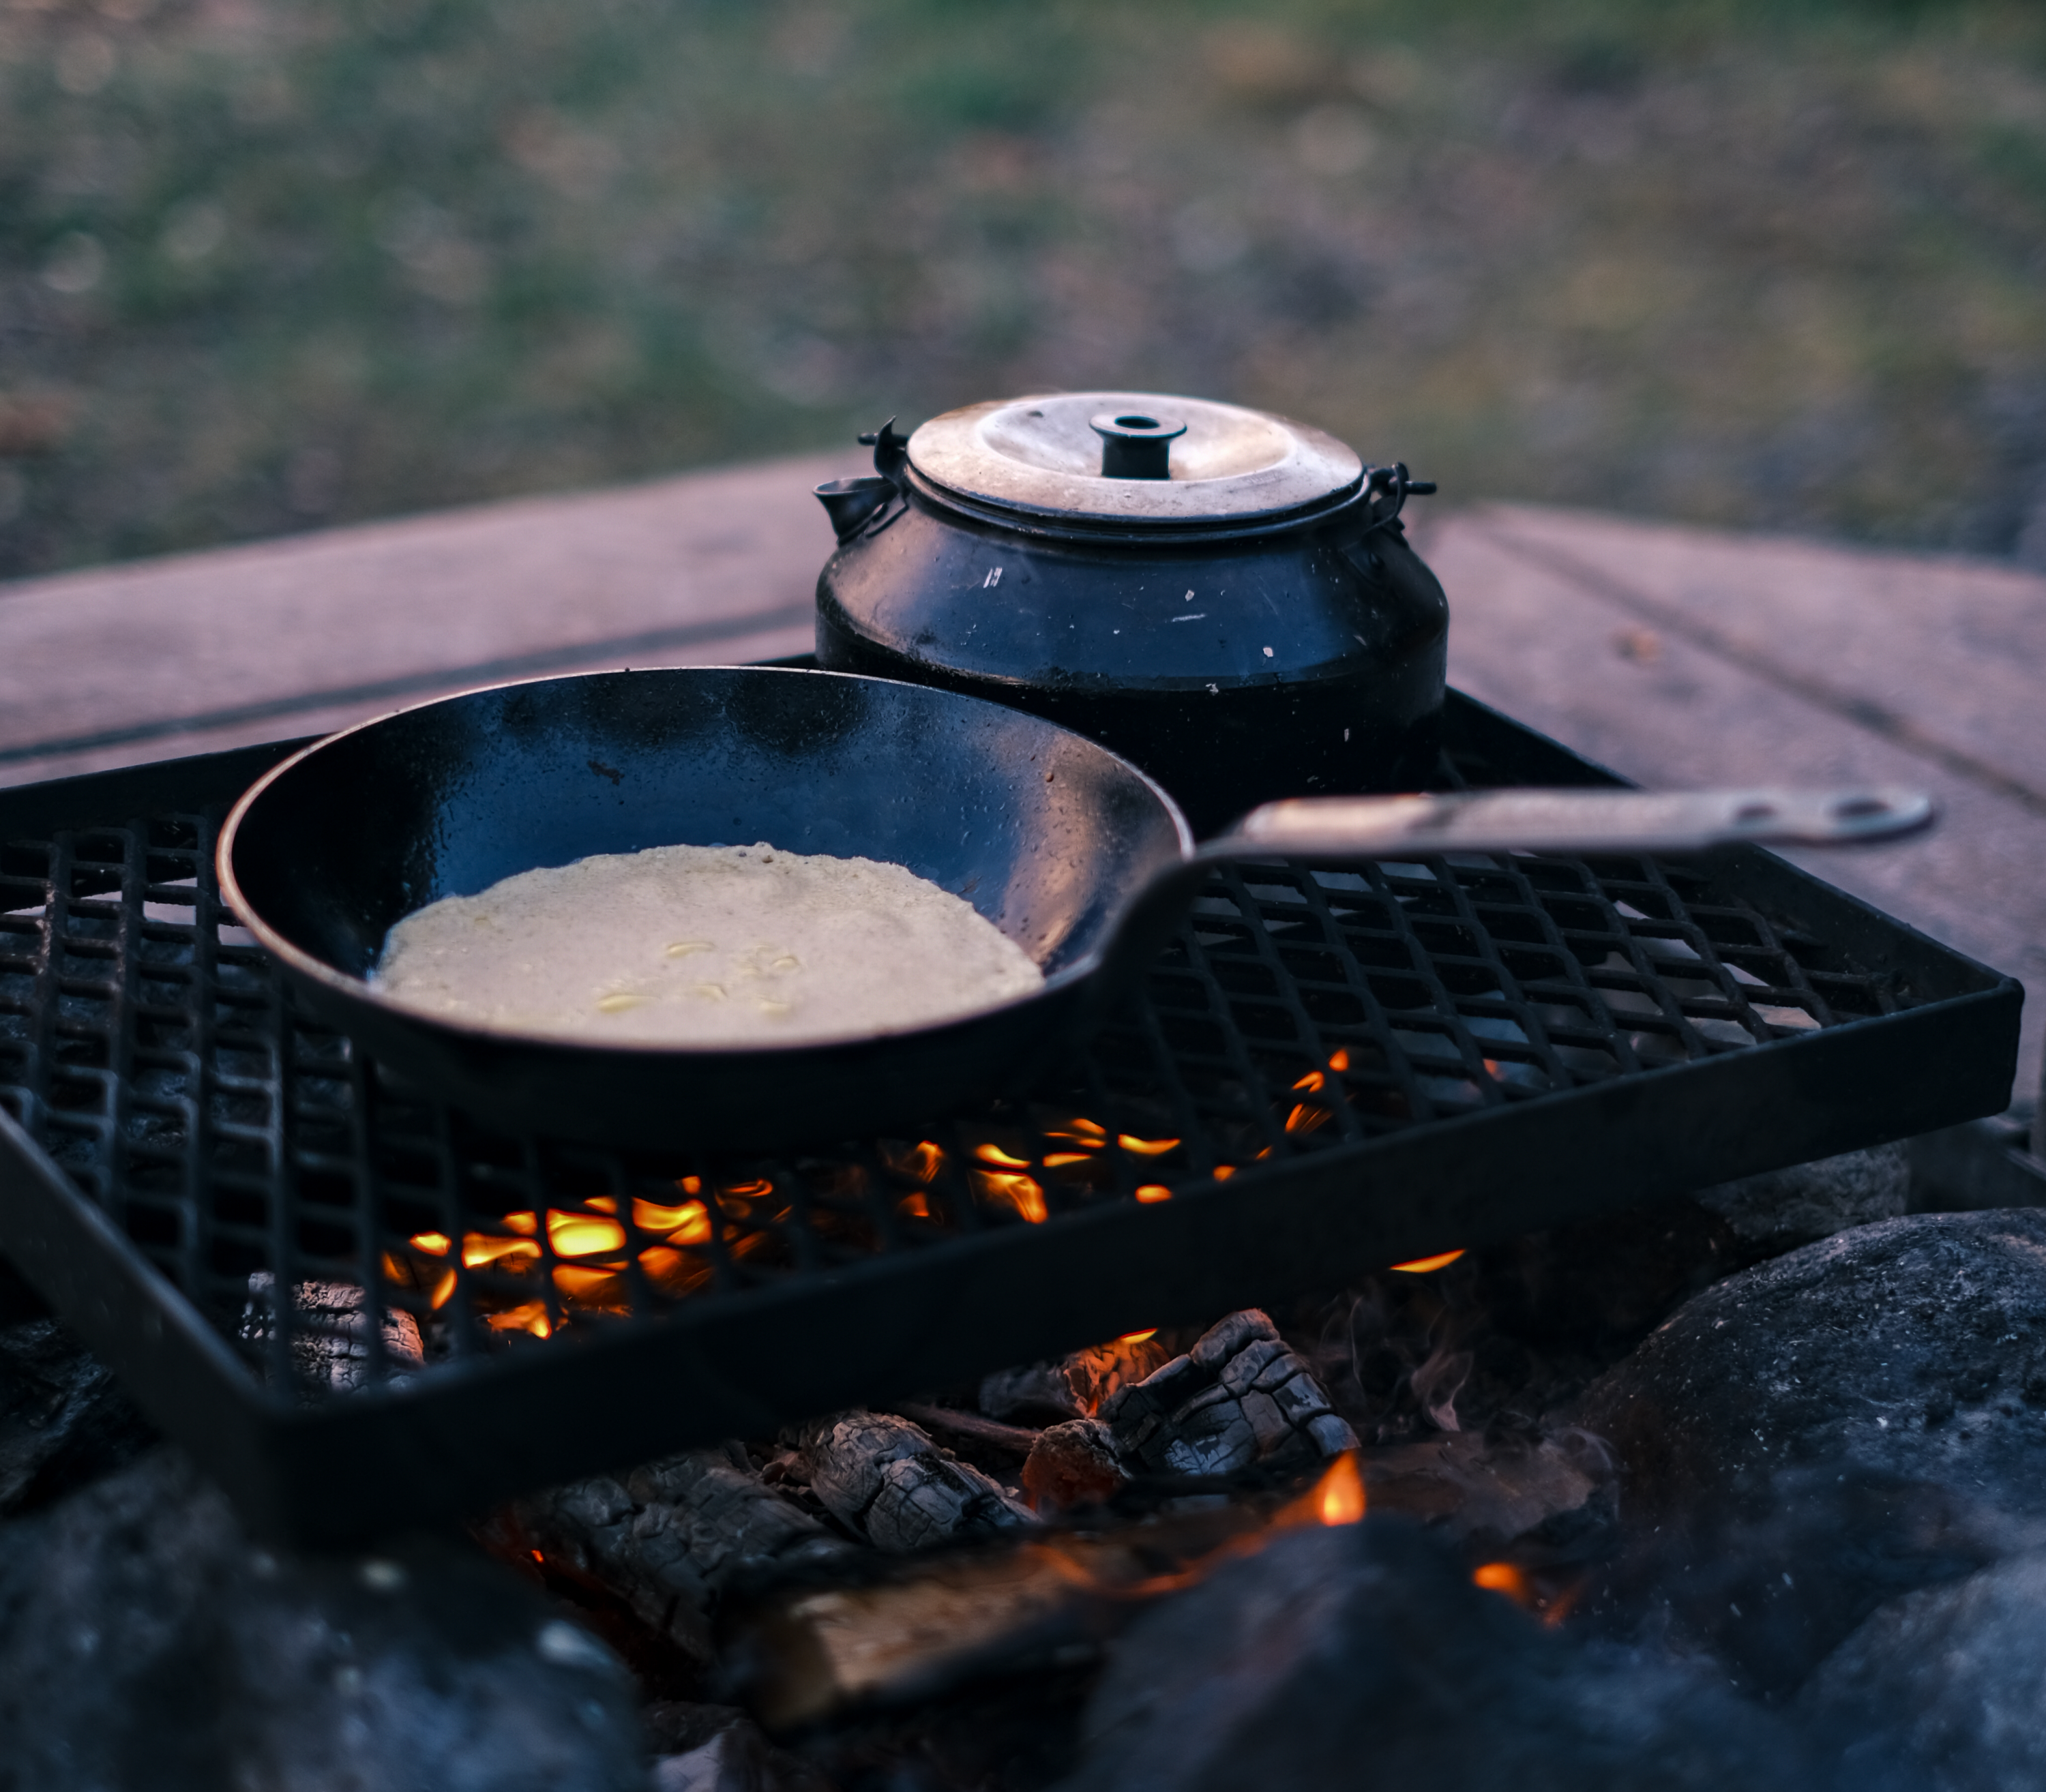
- Key Rule: Never cook over open flames alone. Wait 15–20 minutes until flames die down and embers are glowing red—this is when heat is most even.
Temperature Testing for Cast Iron
- Water Drop Test: Sprinkle a few drops of water on the cast iron surface. If they sizzle and evaporate instantly, the pan is too hot (good for searing steak, but not eggs). If they bead and roll, it’s ready for frying. If they sit and bubble slowly, it’s ideal for simmering.
- Ember Coverage: For Dutch ovens, cover the lid with 1–2 layers of embers (top heat) and place the pot on 2–3 layers of embers (bottom heat) for baking. Remove 1/3 of the lid embers to lower temperature for stews.
Pro Cast Iron Campfire Cooking Techniques
Once your equipment and fire are ready, use these techniques to avoid common mistakes (like burnt food or stuck pans) and elevate your outdoor meals:
Preheat Your Cast Iron (Always!)
Cast iron heats slowly—preheat it over embers for 10–15 minutes before adding food. Skipping this step leads to uneven cooking and sticking. For skillets, preheat until the surface is faintly smoking; for Dutch ovens, preheat with the lid on to warm the interior.
Use Oil Generously (But Not Too Much)
Coat the cast iron surface with a thin layer of high-smoke-point oil (canola, avocado, or flaxseed oil) before cooking. This reinforces the seasoning and prevents sticking. Avoid olive oil—it burns at campfire temperatures and leaves a bitter residue.
One-Pot Meals: Maximize Efficiency
Campfire cooking is all about minimal cleanup. Try these versatile ideas:
- Dutch Oven Chili: Brown ground beef in the pot, then add beans, tomatoes, spices, and a splash of beer. Cover with embers and simmer for 1 hour.
- Skillet Breakfast Hash: Cook diced potatoes in the skillet until crispy, then add onions, bell peppers, and eggs. Top with cheese for a hearty morning meal.
- Campfire Bread: Mix 2 cups flour, 1 tsp salt, 1 tsp baking powder, and 1 cup water. Press into a greased Dutch oven, cover with embers, and bake for 30 minutes—crusty, no-knead bread ready in minutes.
Adjust for Altitude & Weather
- At high altitudes (>5,000 ft), cooking times increase by 20–30%—add extra embers or extend simmering time.
- In wind, use a windscreen around the fire pit to keep embers from blowing away and heat consistent.
Cast Iron Maintenance in the Wild: Keep It Rust-Free & Non-Stick
Outdoor conditions (moisture, dirt, ash) can ruin cast iron—follow these steps to maintain it on the go:
Clean While It’s Warm (Not Scalding)
- Wipe excess food with a paper towel first.
- Use hot water and a stiff brush (no soap!) to scrub off stuck-on bits. For tough residue, add a handful of coarse salt (acts as a gentle abrasive) and scrub.
- Dry immediately with a clean towel—moisture causes rust.
Re-Season After Each Use
- Heat the clean cast iron over embers for 5–10 minutes until dry.
- Remove from heat, add a tiny amount of oil (1 tsp), and rub it over the entire surface (inside and out) with a paper towel.
- Return to low embers for 10 minutes to set the oil—this keeps the seasoning strong.
Emergency Rust Fix
If you spot rust: Scrub the area with steel wool and hot water, dry thoroughly, then re-season twice (follow the steps above) to restore the surface.
Safety & Leave-No-Trace Guidelines
Cast iron campfire cooking is fun—until someone gets burned or the environment is damaged. Follow these rules:
- Fire Safety: Build fires only in designated fire pits. Keep a bucket of water or sand nearby to put out flames. Never leave a fire unattended.
- Heat Safety: Use gloves for all cast iron handling. Place hot pots on a heat-resistant surface (not grass or wood).
- Leave-No-Trace: Pack out all trash (including paper towels and food scraps). Extinguish fires completely (no glowing embers) before leaving. Avoid using soap in natural water sources—clean pots at least 200 feet from lakes or rivers.
Frequently Asked Questions
First time using a cast iron pot for campfire stew—why does it always burn?
Burnt food typically stems from cooking over open flames instead of embers and poor heat control—two easy fixes:
- First, wait 15–20 minutes after starting your fire: Let flames die down to glowing, red embers (this is when heat is even, not erratic). Open flames create hot spots that char food before the inside cooks.
- Second, use the “water drop test” to gauge pan temperature: Sprinkle a few drops on the cast iron. If they sizzle and vanish instantly, the pan is too hot (good for searing steak, but not eggs/stews). If drops bead and roll, it’s ready for frying; slow bubbling means it’s perfect for simmering.
- Pro tip: Elevate your pot/skillet with a cast iron stand (1–2 inches off the ground) to avoid direct contact with the hottest embers.
My cast iron rusted after campfire cooking—no steel wool in the wild! What do I do?
Rust on cast iron is reversible, even in the wild—use natural abrasives and heat to restore it:
- Step 1: Remove rust with coarse salt + hot water. Sprinkle a handful of salt (campfire ash works too, for extra grit) on the rusted area, then scrub gently with a twig, rock, or even a clean pine branch (the bark adds mild abrasion).
- Step 2: Dry the pan completely over low embers. Hold it 6–8 inches above the fire for 5–10 minutes—moisture is the enemy of cast iron, so make sure no water remains.
- Step 3: Re-season quickly. Rub a thin layer of high-smoke-point oil (canola, avocado, or even bacon grease from your camp meal) over the entire surface, then let the pan sit over low embers for 10 minutes to set the oil. This rebuilds the non-stick layer and prevents future rust.
Can I put my cast iron pot directly in the campfire, or do I need a stand?
Direct placement works for some cast iron—but only if you avoid temperature shocks and uneven heat:
- Yes, for 3-legged Dutch ovens: These are designed to sit directly on embers (the legs keep the base elevated slightly, preventing burning). Just preheat the pot slowly (5 minutes on low embers first) to avoid cracking.
- No, for skillets or flat-bottomed pots: These need a stand or grill grate. Placing them directly on the fire will heat the bottom too quickly, burning food and warping the pan over time.
- Always avoid wet ground: If you set cast iron on dirt, make sure the area is dry—wet soil can cool the pot unevenly and cause rust.
Elevate Your Outdoor Gear with Reliable Sourcing
Great cast iron campfire cooking starts with quality gear—and if you’re a European or American wholesaler, retailer, or brand owner looking to source high-performance Chinese-manufactured knives and outdoor cookware accessories, Leeknives is your trusted partner. We specialize in wholesale, OEM, and private label solutions tailored to outdoor and culinary markets, with a focus on durability, safety, and cost-effectiveness.
Whether you need custom-branded cast iron cookware accessories (like heat-resistant gloves or skillet handles) or premium knives to complement outdoor cooking kits, our team works closely with you to meet your specifications.
Ready to take the next step? Request a free quote today to discuss your sourcing needs, and let’s bring durable, campfire-ready gear to your customers.