Your Trusted Knife Manufacturing Partner – LeeKnives
Where Craftsmanship Meets Cutting-Edge Technology
The LeeKnives Factory
Since its inception in 1993, LeeKnives has evolved from a humble indie workshop to a renowned knife manufacturer. Specializing in crafting a diverse range of steel blades. Our expertise spans kitchen knives, pocket knives, and traditionally forged handmade knives. We work under the motto of always providing excellence. Consistently deliver the finest products, craft top-tier blades, and provide customers with the best experiences.
Kitchen Knives
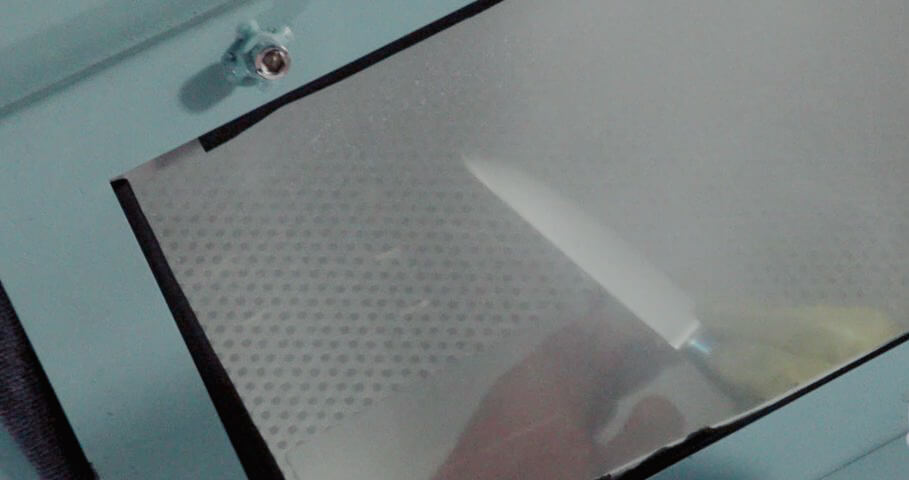
01 Shaping
Place the steel sheet inside of a machine and let it carve out the shape of the blade. This process, also known as stamping, serves as a modern alternative to the traditional forging method. This approach not only economizes time and expenses but also upholds consistency throughout the production process.
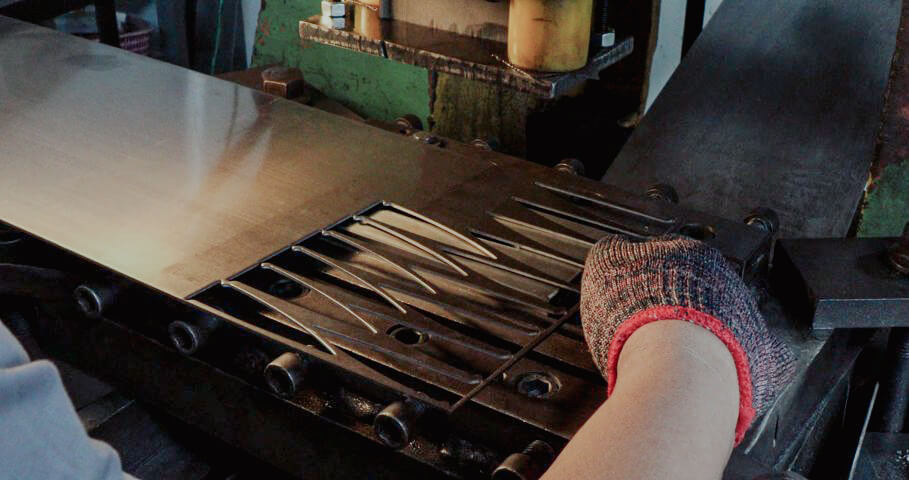
02 Pattern Stamp
When the final design of the knife necessitates specific patterns etched onto the blade, the blade undergoes a pattern stamping step. This technique also applies to some Damascus knives, although not universally applicable. Blades subjected to pattern stamping are heated beforehand, in order to enhance the malleability of the steel, making it easier to form a pattern.
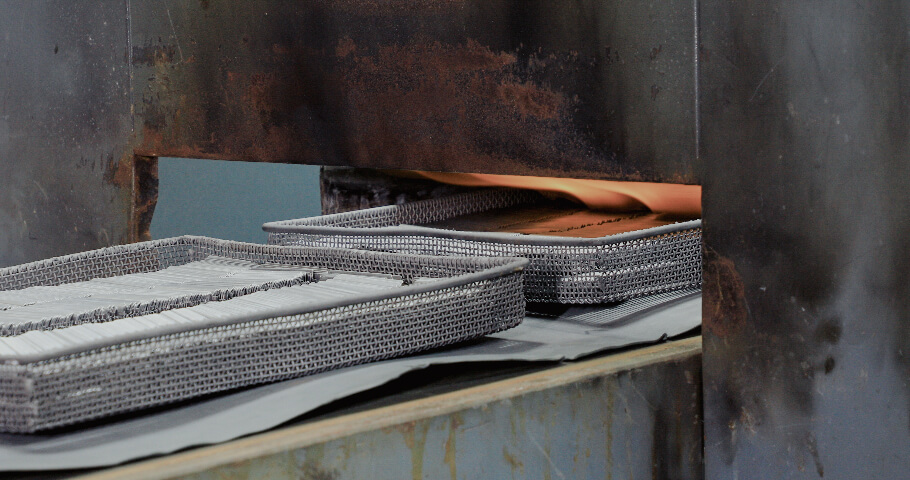
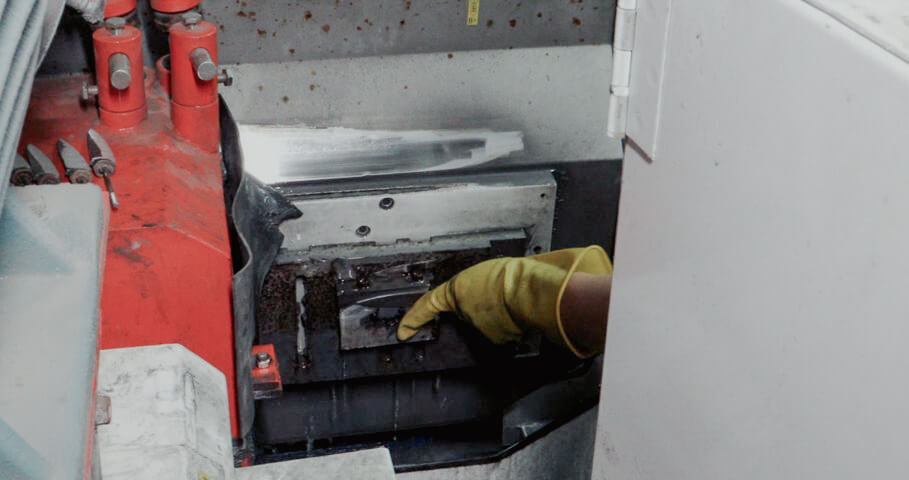
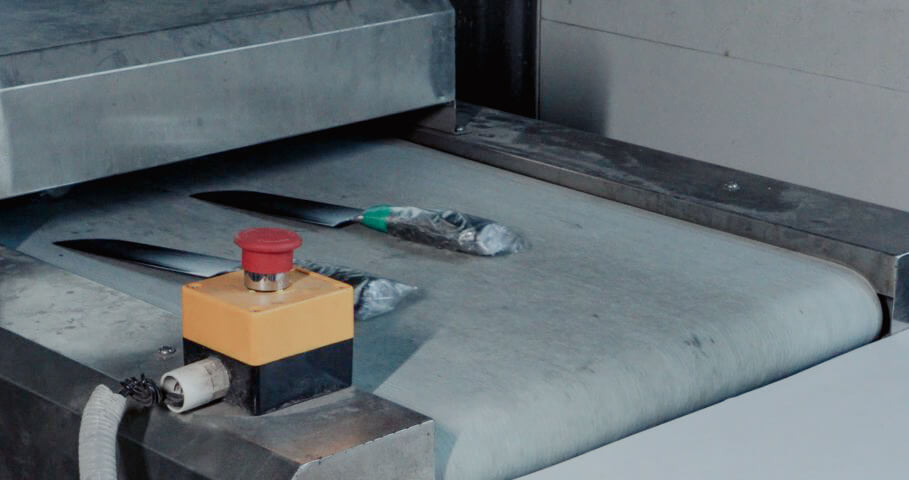
03 Heat Treatment
The heat treatment process grants knife optimal hardness, toughness, edge retention, and many more characteristics. The process is done by placing the steel blades atop a moving belt, which gradually transports them into a forge for heat treatment. Depending on the desired specifications, the steel blades are then extracted from the forge and quickly immersed in either oil or water for rapid cooling.
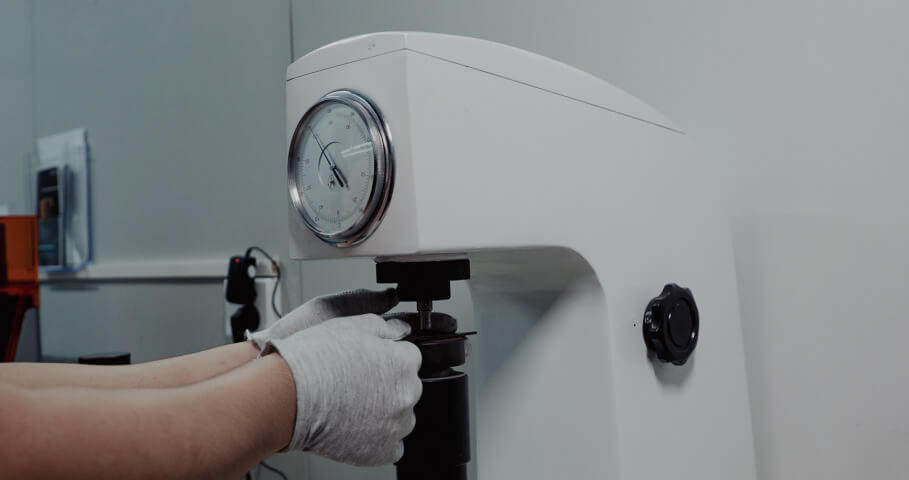
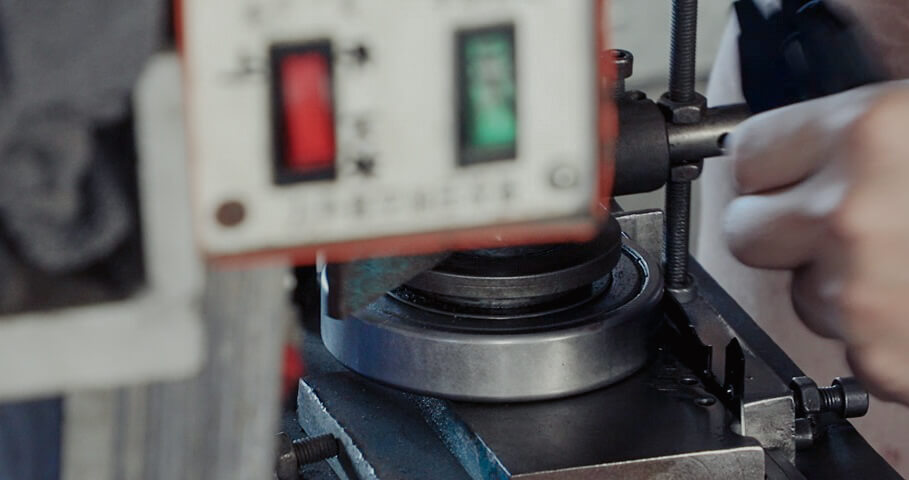
04 Hardness Test
After heat treatment, the hardness of the steel should be set. To test hardness and the outcome of the heat treatment, a batch of blades will be selected. The test is done by using a Rockwell hardness tester. We position the blade in the testing area, manipulating the machine’s controller to bring the indenter in contact with the blade’s surface, and then allowing the machine to furnish a hardness measurement.
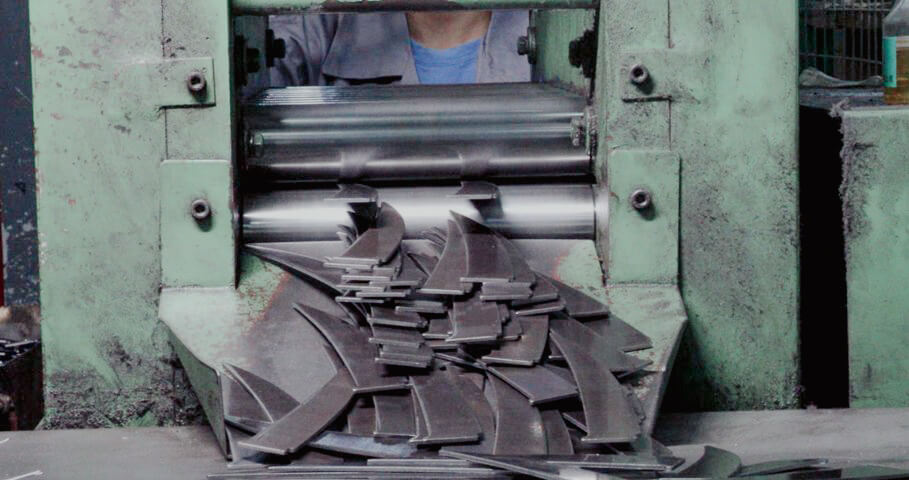
05 Straightening
Straightening is the step to further thinning down the steel blade for easier grinding in a later process. We place individual blades between the steel scrolls and let them straighten the blade as desired.
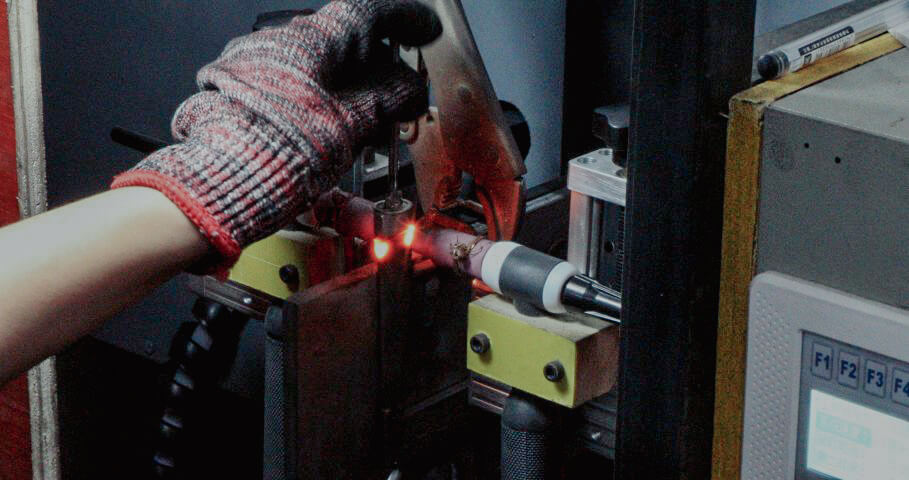
06 Welding
The process of joining the tang and knife bolsters to the blade. Both the tang and bolster are fashioned from steel sheet remnants generated during the shaping procedure. It’s noteworthy that these components are crafted using identical steel to maintain consistency in material composition.
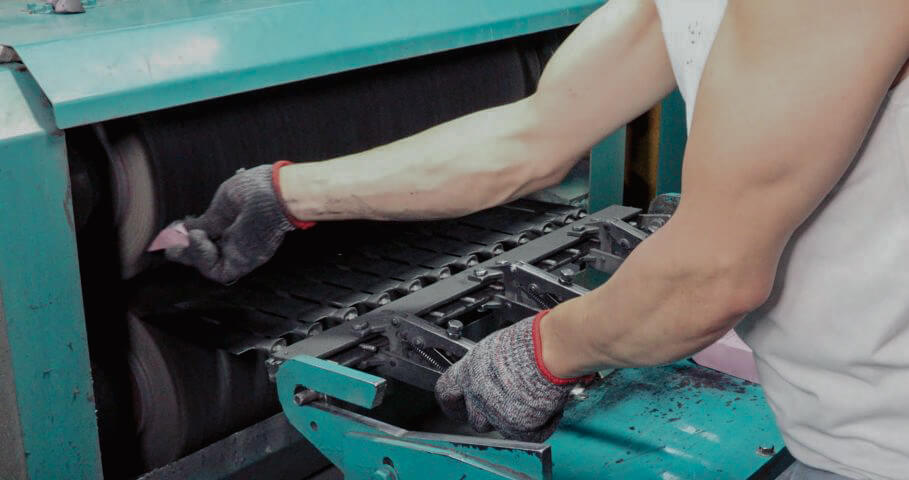
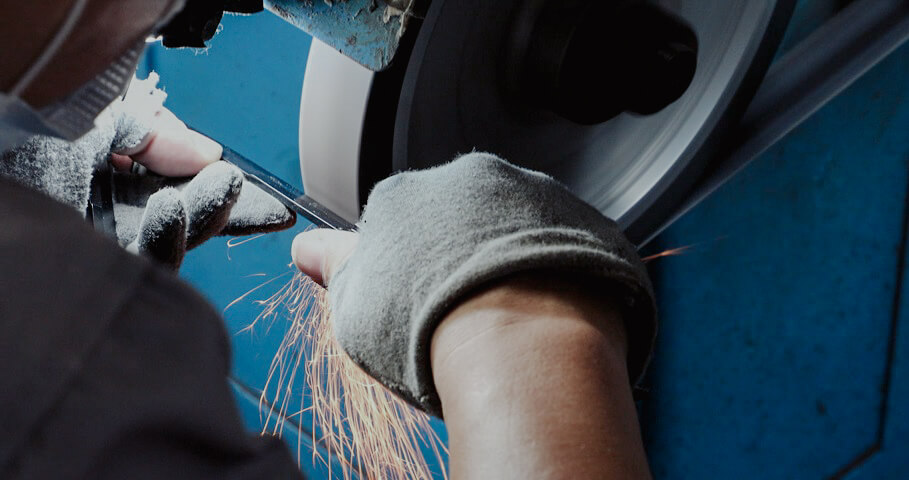
07 Wet Grinding
Wet grinding serves as the initial phase in a sequence of grinding processes. Its primary objectives include cooling and lubricating the treated surface, reducing heat buildup. Wet grinding not only cleanses the surface by removing abrasives and debris but also enhances later grinding steps such as sanding. Water as a lubricant allows particles to move more freely across the blade surface.
08 Sanding
The sanding stage is vital for refining the blade’s shape. Eliminating any sharp edges adjacent to the handle, smoothing the knife’s spine, and enhancing the blade’s edge sharpness. To accomplish this, an automated sanding belt is employed.
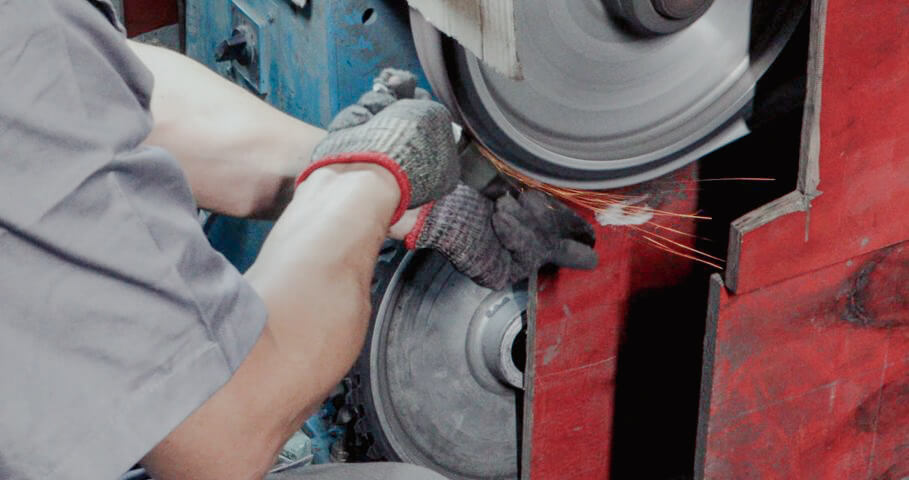
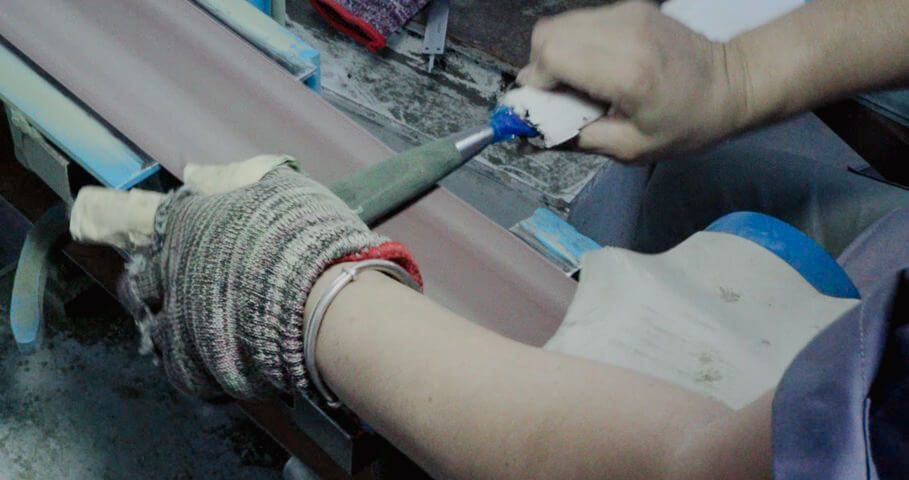
09 Mirror Polishing
Mirror polishing is a process to refine the knife’s surface. Giving it a sleek, polished blade that you’ll find as reflective as a mirror. We complete the mirror polishing process by inserting the blade into a specialized wheeling machine, which then undertakes the task of achieving this exceptional level of refinement.
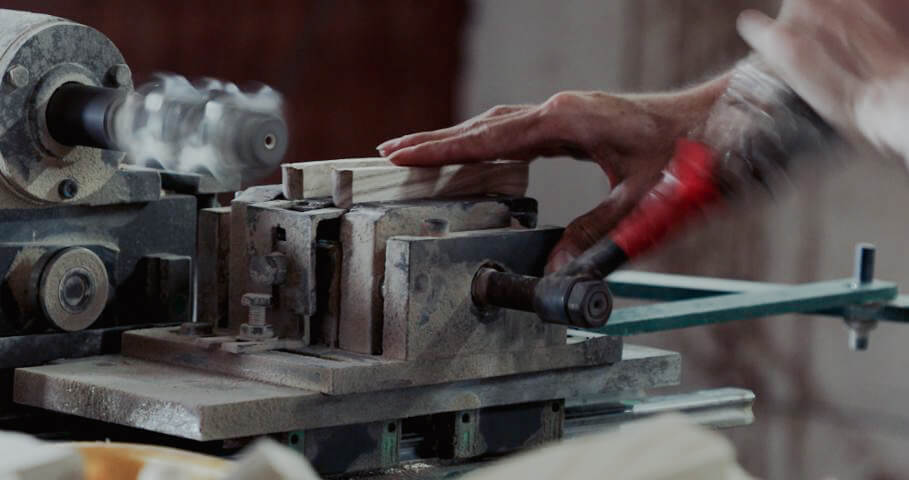
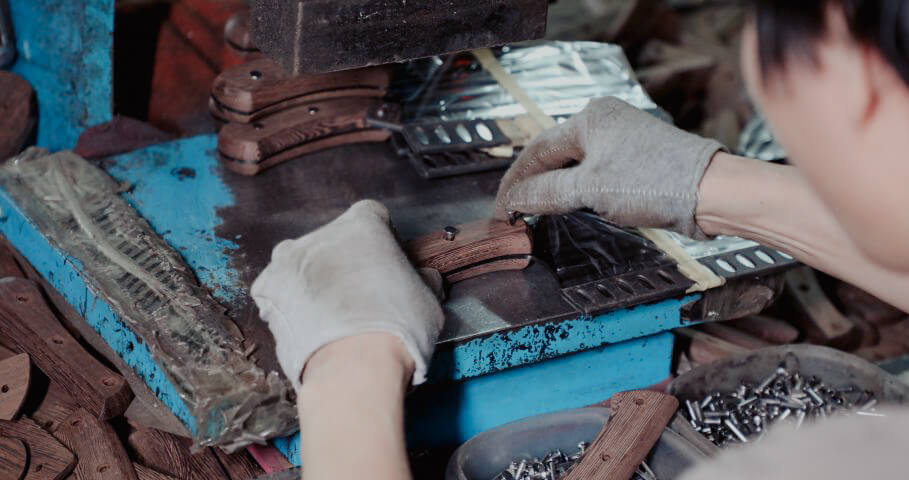
10 Crafting Handle
The handle crafting process uses wooden blocks that are inserted into a specialized machine. This machine is programmed to sculpt and shape the knife handle according to predetermined specifications.
11 Dehumidifying
To prevent deformation caused by environmental change, it is essential to remove excess moisture from the wooden handles. This involves placing all the wooden handles within an enclosed space and utilizing a dehumidifier to extract the moisture from the wood, thereby enhancing their stability and reducing the risk of deformation.

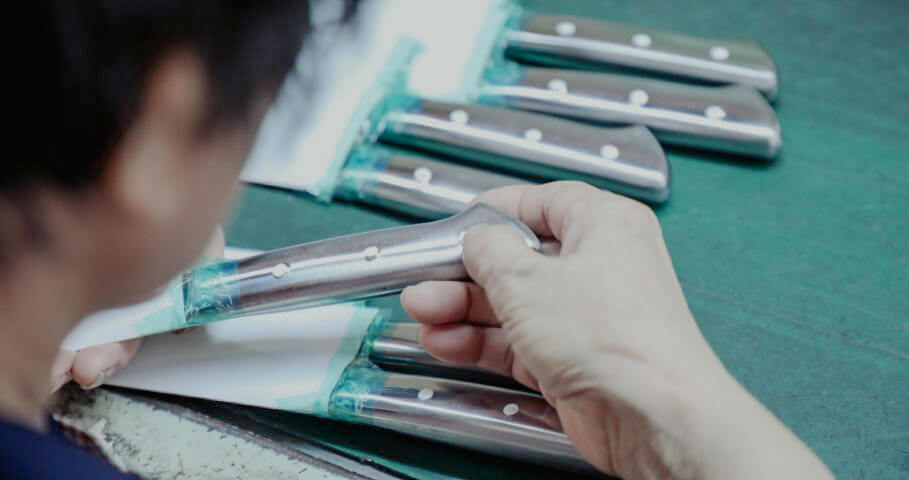
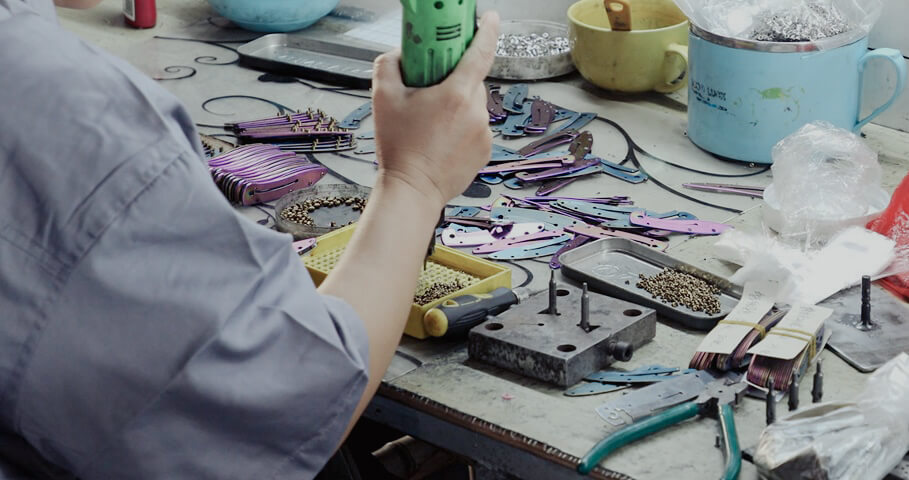
12 Installing Handle
There are many ways to install a handle, which vary according to the type of handle being used and the preferences of the customer. One approach involves securely bonding the handle and blade using adhesive. Alternative methods use nails or similar fasteners.
13 Polishing Handle
Once the handle is secured with the blade, they need to be polished. Polishing the handle aims to give it a nicer look and texture. Shaping the handle into a more precise design, and removing any debris present. This is also done on an automated sand belt.
14 Sandblasting
Sandblasting imparts a distinctive texture to the blade’s surface. This process brings out the vividness of the Damascus pattern and makes the surface akin to the sensation of running one’s hand over rough sand. A specialized machine is employed to execute this step.
15 Blade Edging
The final step of the grind. The goal of blade edging or fine grind is to establish a keen, angled cutting edge. This is accomplished by grinding the blade at a specific angle, resulting in the creation of a beveled surface that forms the sharp cutting edge.
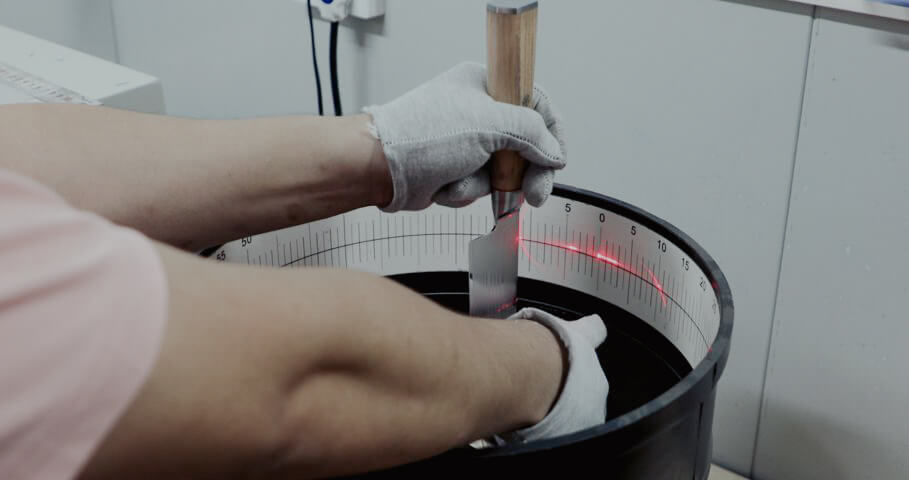
16 Inspecting Angle
To make sure the accuracy of the grinding process, we then test the angle of the blade edge by using a goniometer device.
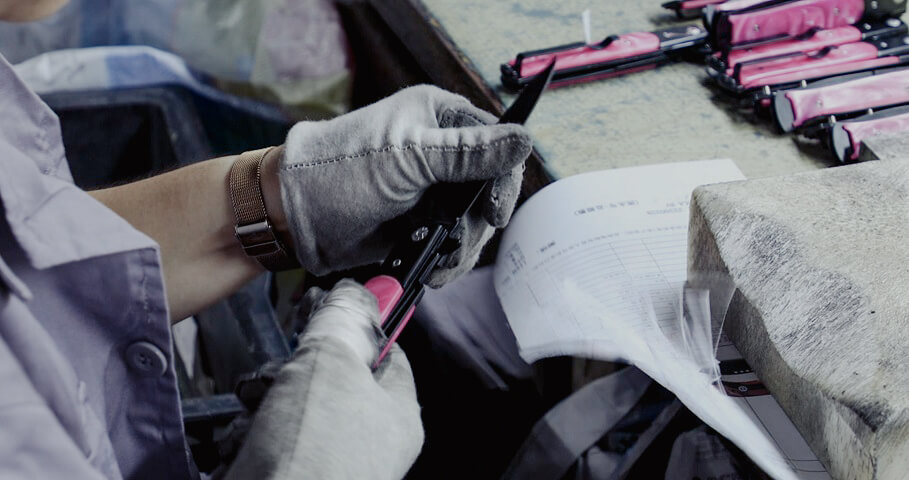
17 Testing Edge
Followed by ISO standard, a comprehensive test will take place to examine the initial sharpness and edge retention of the knife. The test is carried out using a specialized machine, which determines both the depth of the knife’s cut and the number of paper sheets it can cleanly slice through. The two measurements directly signify the knife’s initial sharpness edge retention.
18 Cleaning
Cleaning removes any residual debris that may have accumulated throughout the manufacturing process. This thorough cleaning procedure is applied to each individual knife.
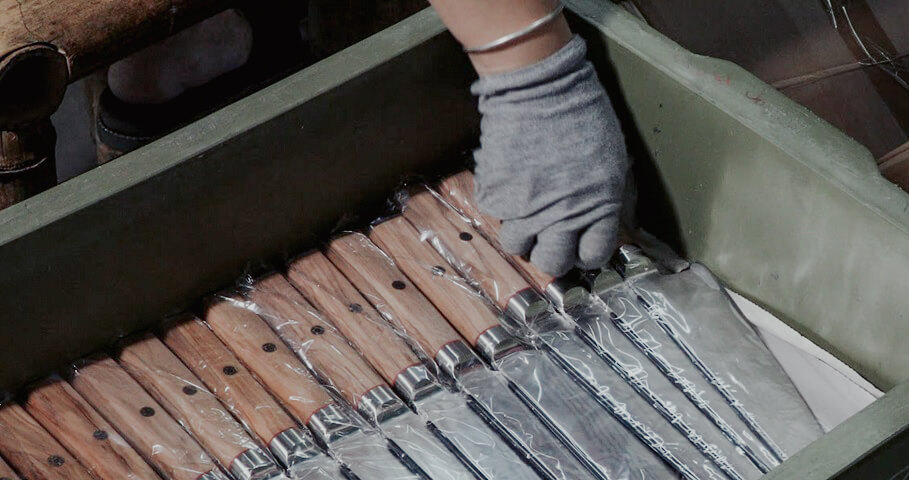
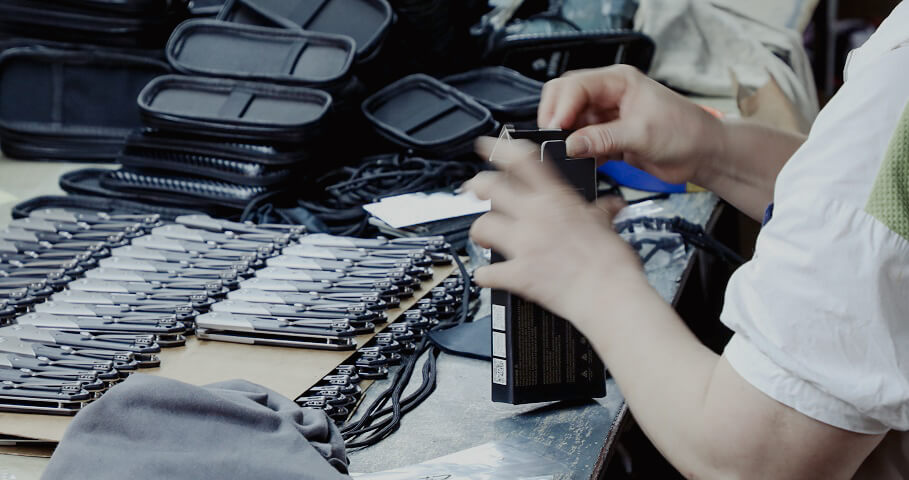
19 Packaging
The final step before our knives are ready to go. Customized packaging designs are employed to cater to the distinct requirements of each customer.
Pocket Knives
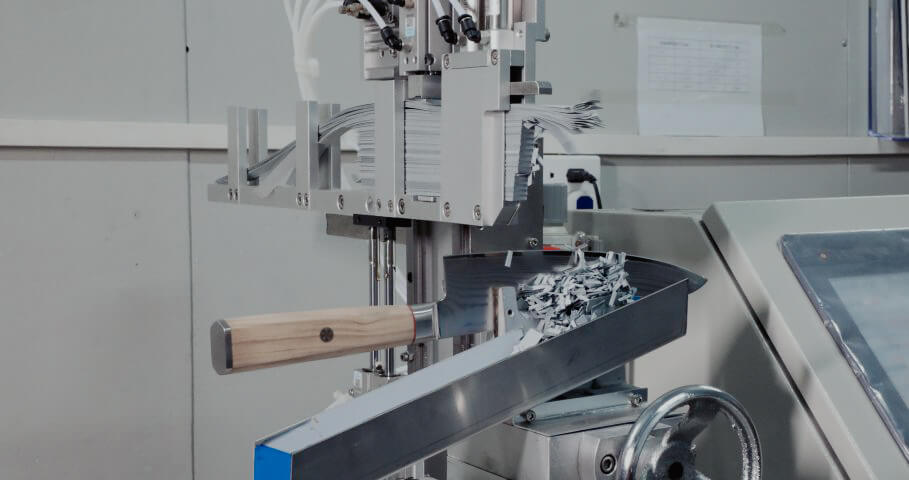
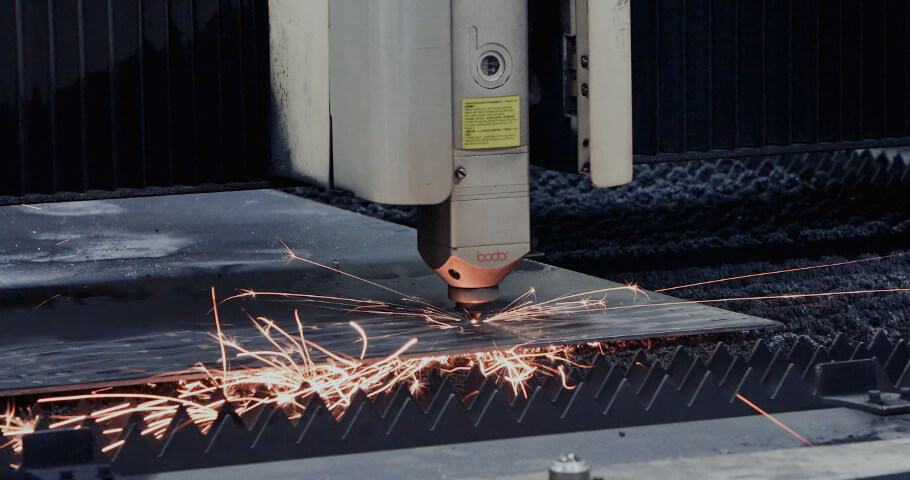
01 Laser Cutting
A specialized laser cutting machine is used to intricately carve the initial blade outline from a sheet of steel. This procedure is entirely automated to guarantee the precision of the blade’s form.
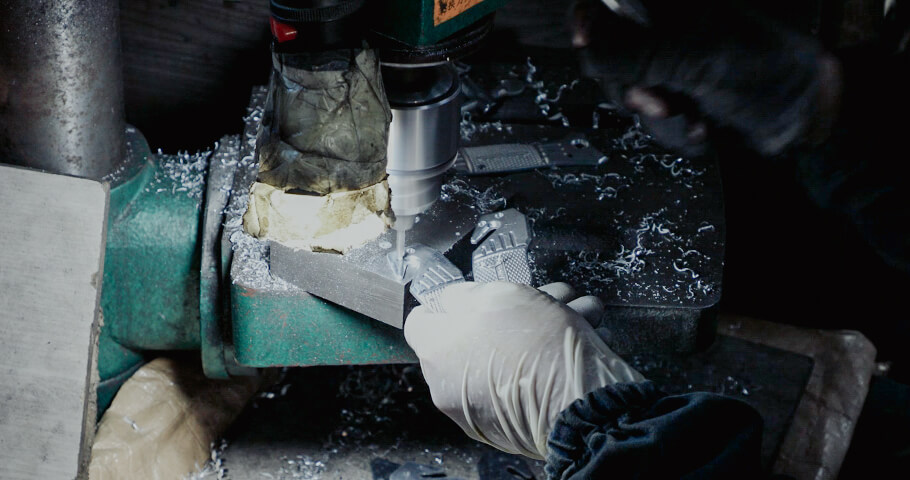
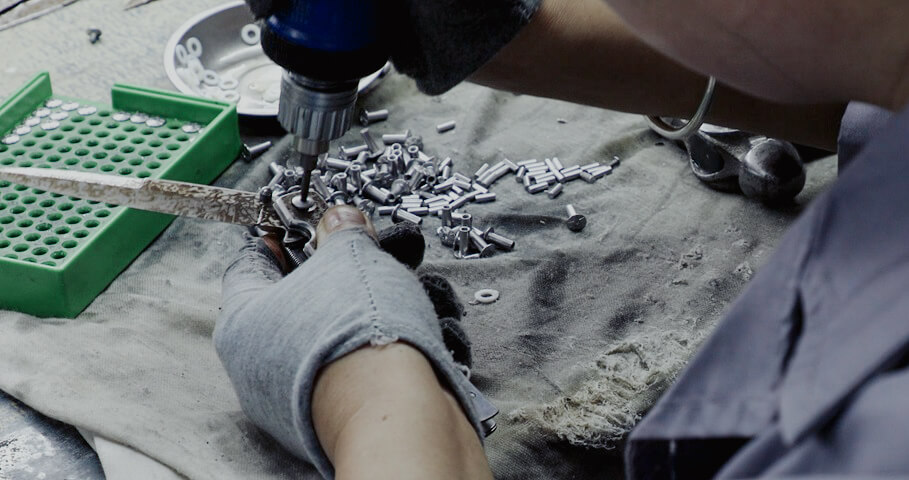
02 Drilling
Specific to individual knives, the raw steel will undergo a process of drilling, creating multiple holes that serve various purposes such as accommodating fixed locks, attaching additional tools, affixing the handle, and more.
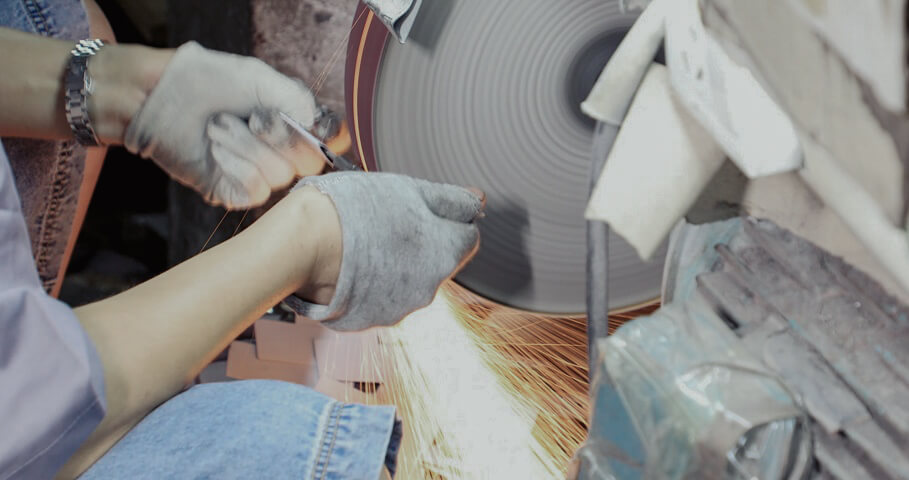
03 Wet Grinding
By inserting knife blades within the wet grinding wheel, we ensure a rough grinding stage that effectively removes undesirable debris and particles. This process results in a slightly sharper edge, making it easier to grind in later processes.

04 Sanding
The sanding process is followed closely after wet grinding. It is a more precise grinding process that further sharpens the knife’s edge. By carefully holding the knife adjacent to an automated sanding belt, we adeptly refine not only the edge and spine but also other areas of the knife requiring precision refinement.
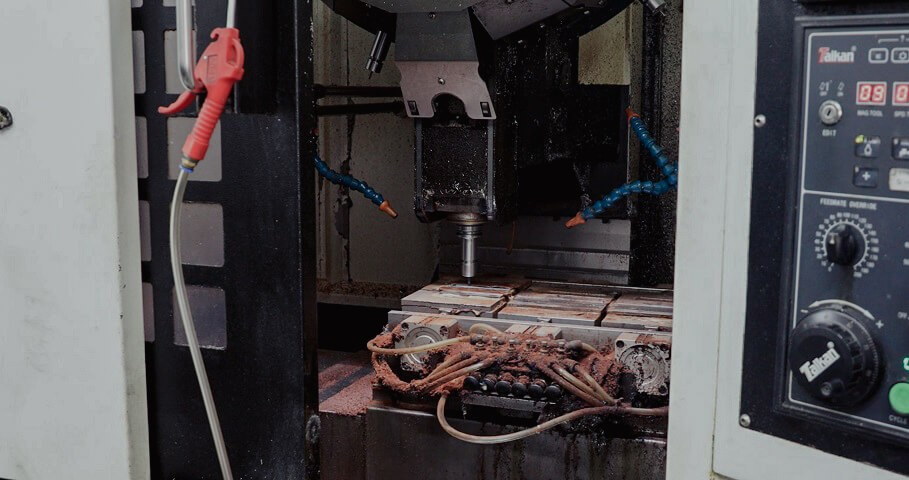
05 Milling
Milling is the part of the manufacturing process different for every pocket knife. The process adheres to the requirements of the final design. It is the part where we use a milling machine to address unique blade surfaces, fixtures, and drill holes that pose challenges within the conventional drilling procedure. Precise shaping is achieved through material removal, the process also accomplishes other delicate work.
06 Installing Handle
Adding the handle is an important part of making the knife. The chosen handle material is carefully attached to the blade’s base. This is usually done by drilling fasteners to tighten the handle blocks together. Skilled work ensures the handle fits well and looks good.
07 Fixing Locks
Securing the locking mechanism is a critical step. Essentially, fixing lock means to shape the knife blade to facilitate the seamless integration of locking mechanism components during the assembly stage.
08 Assembling
Bringing together various components of a pocket knife and fastening them using a variety of methods, this includes accurately incorporating locking mechanism elements like springs and pins into the knife’s structure.
09 Blade Edging
Just before the pocket knife is ready for inspection, we reach the last manufacturing phase. After assembling all the components, our next step involves sharpening the knife to a point where it becomes functional. This process focuses on refining the blade’s edge to ensure its actual sharpness.
10 Inspection
The testing procedure ensures the knife has proper characteristics. Each part of the knife undergoes evaluation to verify its functionality, including the lock’s operation. To assess sharpness, we conduct both a brief paper-cutting test and a machine-driven ISO sharpness test.
11 Packaging
Following the specifications, we proceed to carefully package the pocket knives. This step demands special care due to the sharpness of the final blade.
Hand Forged Knives
The Blade

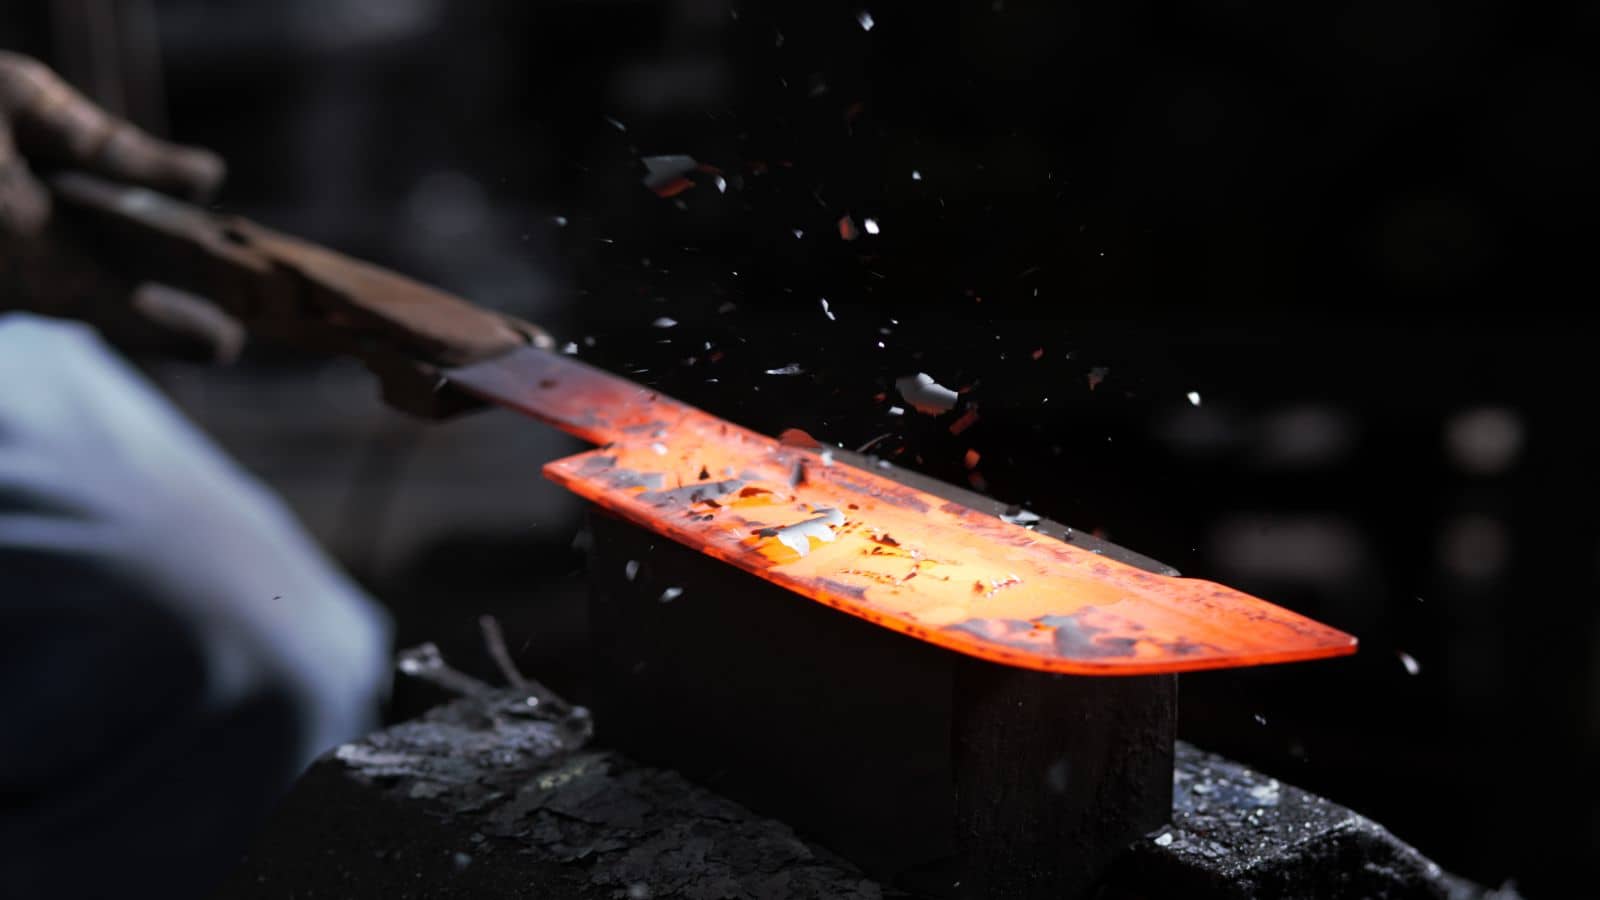
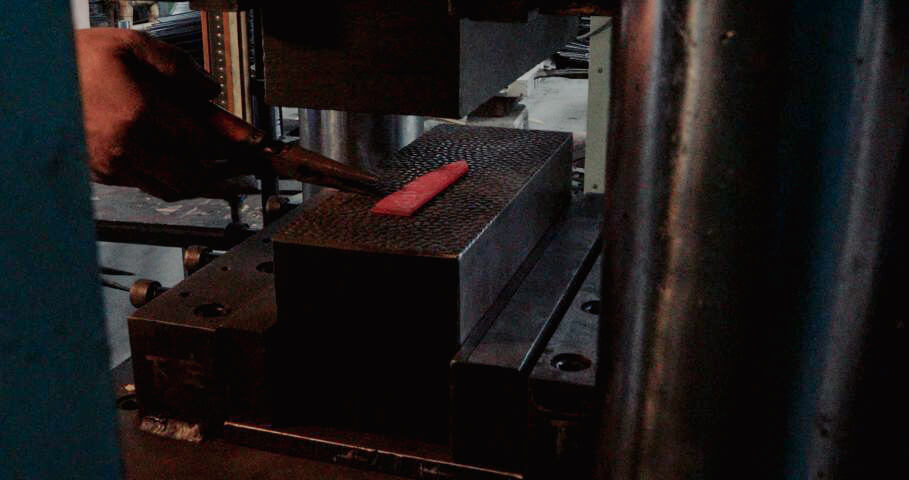
Forging
We begin by placing the raw steel billet inside a forge for heating. Subsequently, we shape it according to our desired form through hammering. Throughout this procedure, the steel undergoes tapering to accommodate varying thicknesses across the blade’s region, forming the bolster and tang. This forging process is repeated multiple times before progressing to the next step. A heat treatment method called annealing may also apply during the forging process if the steel is too hard to deform.
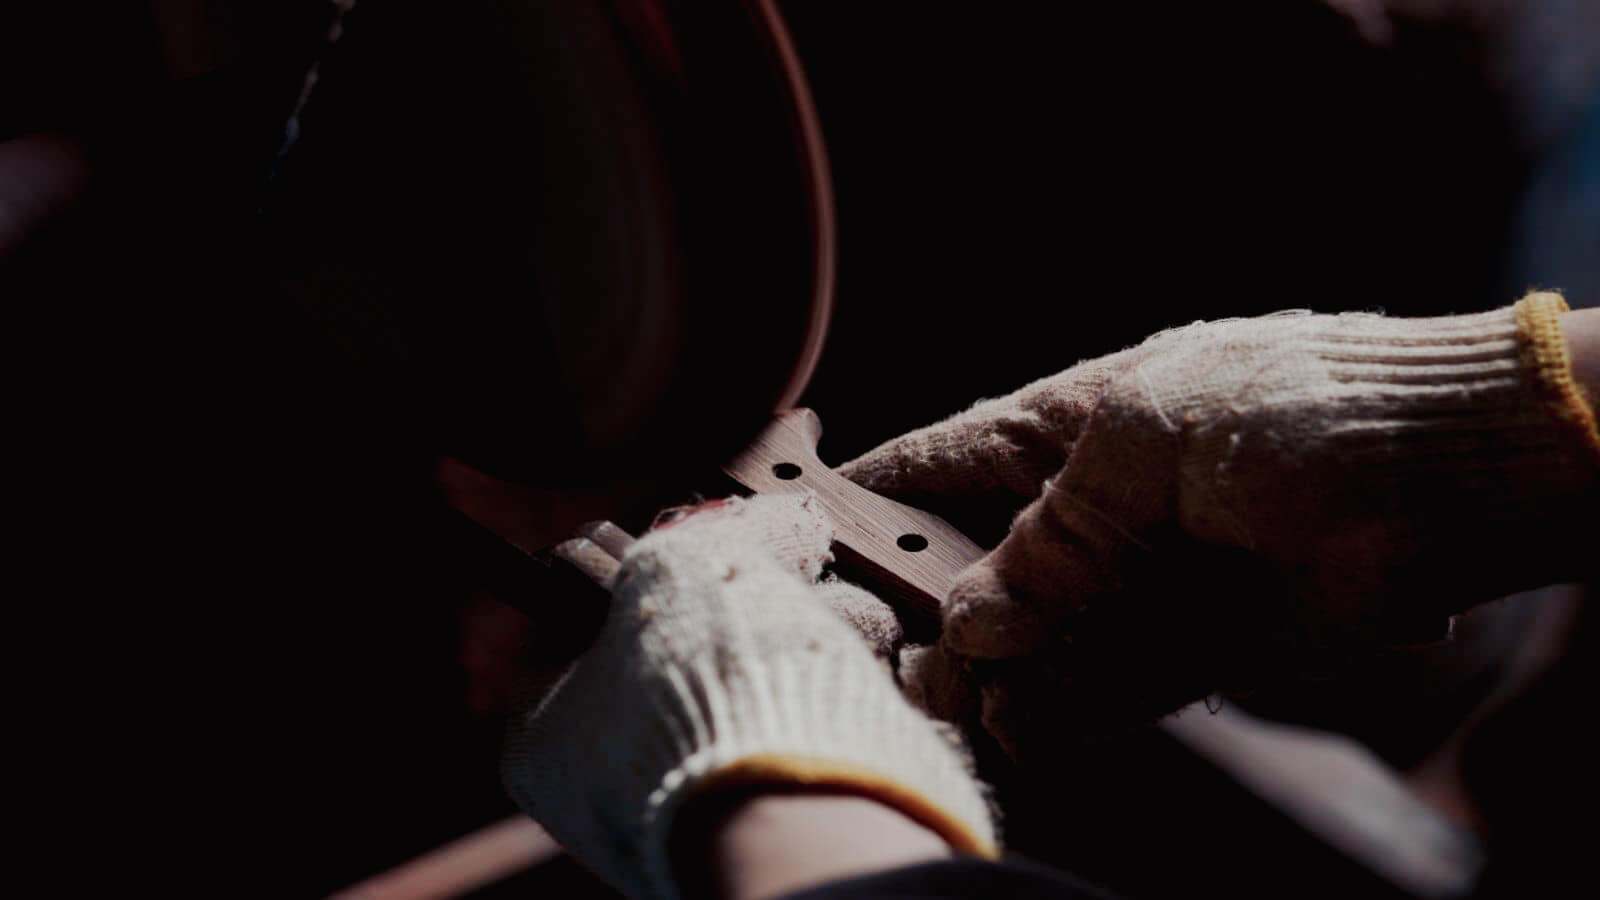
Grinding
Throughout the entirety of the manufacturing process, the blade undergoes a series of grinding stages. Initially, we perform a rough grinding to establish a preliminary bevel shape and differentiate the edge from the spine. Then, a finer grinding refines the blade by creating a sharp, angled edge. Following this, the blade will be polished for a sleek texture. Lastly, we sharpen the knife edge to achieve its final state.
Heat Treating
Heat treatment consists of four different methods. They often come after the steel is properly forged, except for annealing. We’ll quench (rapid cooling) the knife manually to alter the hardness of the steel, at the same time its toughness, wear resistance, and other properties. Tempering and normalizing, another two heat treatment that often follows right after quenching, aims to reduce hardness and increase toughness.
The Handle
Crafting
Following the design, the woodworker crafts the handle’s shape from lumber, skillfully carving it out. Then, they will sand and sculpt the handle to ensure an ergonomic grip, as specified. Depending on the requirements, the wooden handle might undergo coloring and resin injection processes, resulting in distinctive patterns and hues.
Mounting
The handle will be mounted accordingly based on the requirements. The two most common approaches involve using adhesive, such as glue, or using fasteners like nails to securely join them together. The method of mounting a handle largely depends on the tang of the knife.
Polishing
The final stage of finishing up the handle. The step includes polishing for a smoother texture, applying oil and conditioning to enhance its shine. Moreover, logos, patterns, and distinctive visual elements may be added as well.
The Edge
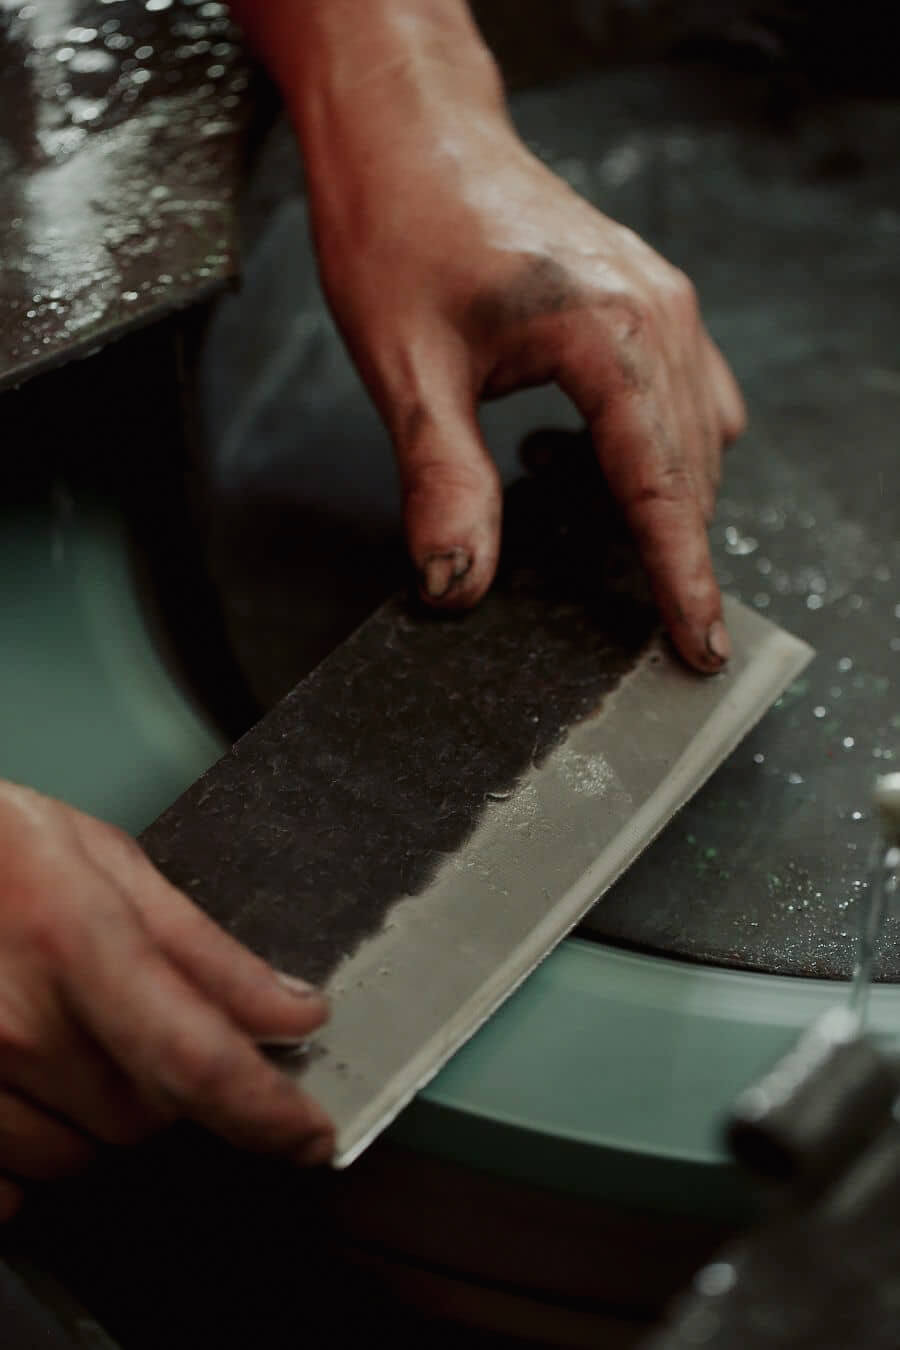
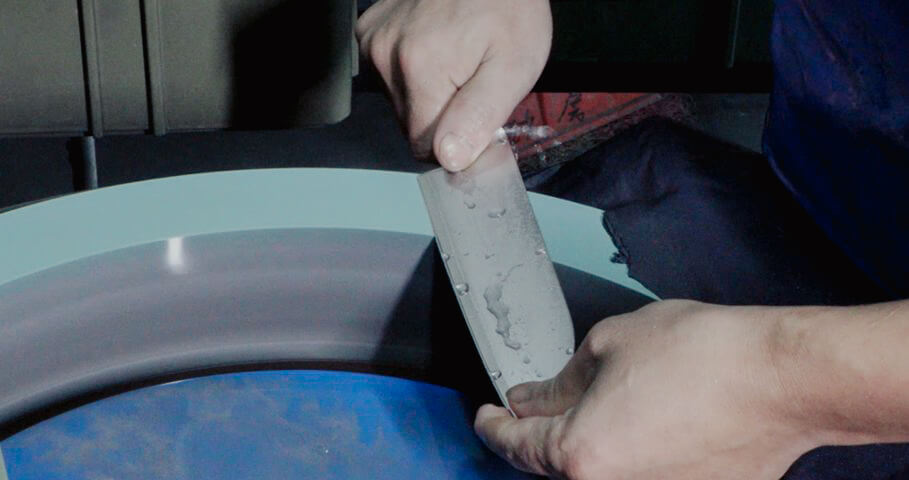
Sharpening
The final blade edge is sharpened using a range of whetstones with varying grit levels, progressing from coarse to fine. This process continues until the knife achieves the desired level of sharpness, rendering it ready for immediate use.
Testing
Before offering the knife for sale, we assess various aspects of the blade’s edge. This includes examining the edge angle, its initial sharpness, and the duration for which the blade maintains its sharp cutting edge.
Manufacture World-Class Blades with Leeknives
Wanna see how we can help you with knife manufacturing? Contact us today and get the full scope of LeeKnives now.